Installing the viewneo 4K SignageBox
The following section explains how to connect the hardware (player) to a screen.
Connecting the player to a screen
On the back of the digital signage player is the HDMI port. The supplied HDMI cable connects the player to the corresponding port on the screen. The player will then be powered by the external power adapter which is included with the player.
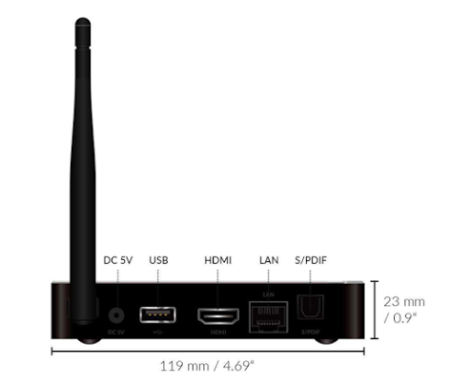
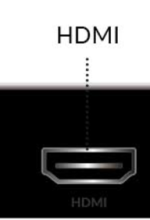 On the back of the player is the HDMI jack. One end of the supplied HDMI cable needs to be plugged in here.
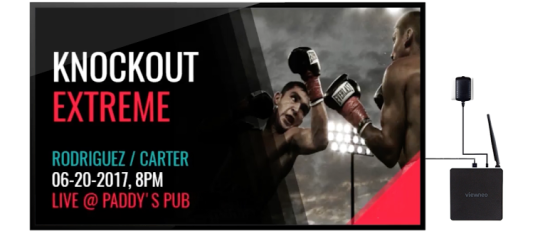 Picture: Player with screen connected via HDMI cable and supplied with power via the attached external power adapter.
Connecting the Player to the Internet
The next step is to set up the player so that it can be connected to the Internet. There are two basic ways to connect to the Internet:
- Wireless connection via WiFi. We recommend this option when you have an existing WiFi radio network with good reception.
- Wired connection via Ethernet (LAN) cable. This option must be selected if there is no WiFi available or if the signal at the installation location of the player is too weak.
Important! In the case of a wired connection via Ethernet cable, the player must also be connected by cable to the local network. This cable is not included with the player.
Next to the HDMI jack on the back of the player, is the corresponding Ethernet (LAN) jack which connects the player to the Internet.
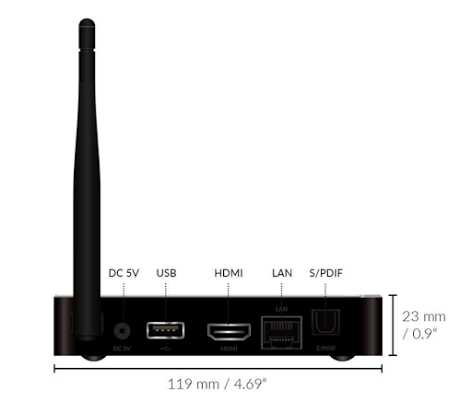 Picture: In addition to the HDMI jack on the back of the player is the corresponding Ethernet jack to connect the player wired to the Internet.
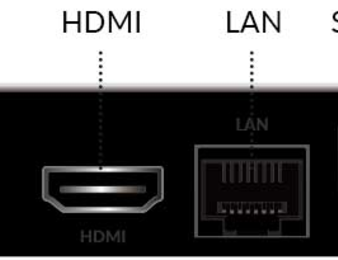
Picture: Shows the LAN marked socket for the wired Internet connection.
Setting up the player
After starting the player, a welcome screen will appear on the monitor.
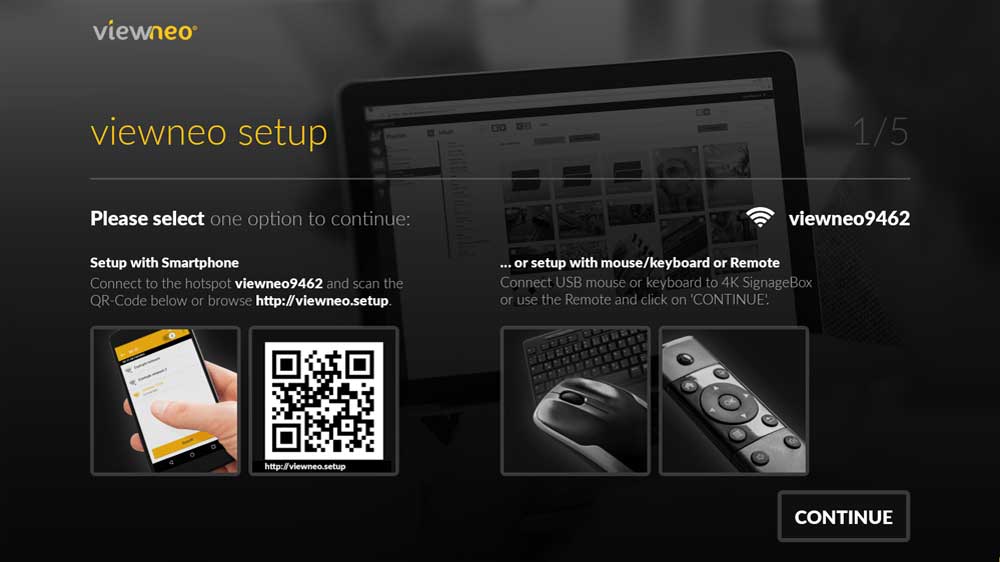
The first step is to configure the Internet access. There are two possibilities with the 4K SignageBox.
- Setup by remote control (recommended) OR
- Setup with smartphone
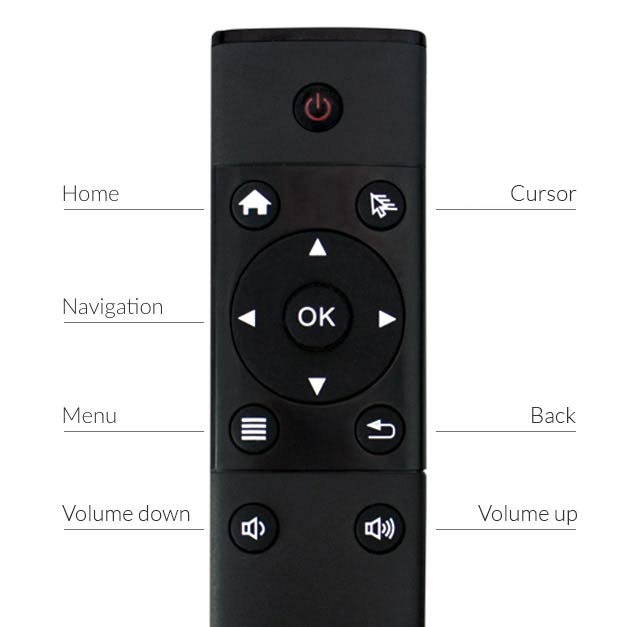
Setup by remote control (recommended)
Use the navigation key on the remote control to get to the "Continue" button (or "Continue") and then confirm with "OK" on the remote control.
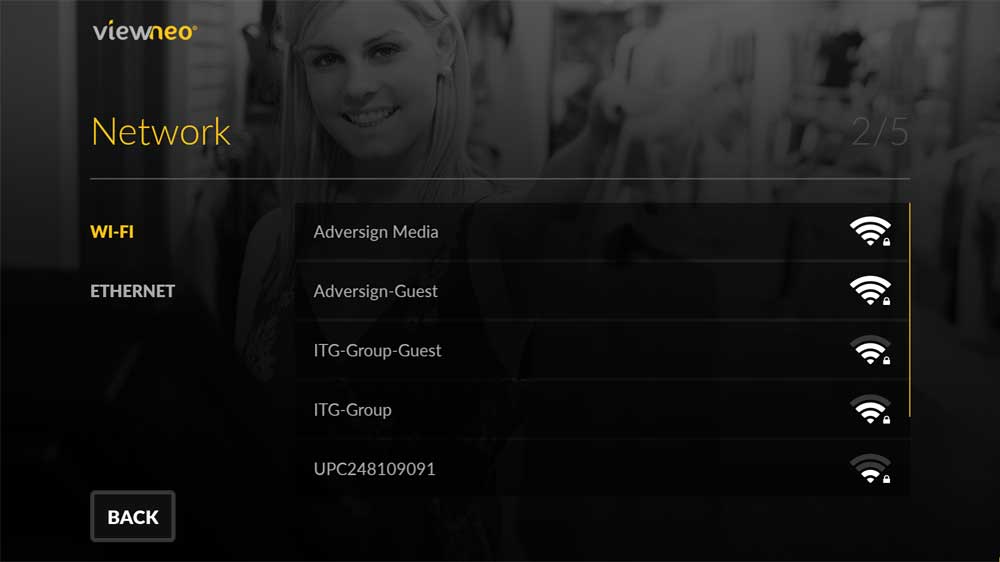
 In order to set up the WiFi, the following settings need to be completed. In the case of a wired Internet connection via Ethernet cable, this process can be skipped. Select the correct WiFi network from the list of all available networks (see picture). Confirm the selection by clicking on the OK button.
 The following video explains how to set up the 4K SignageBox remotely:
Smartphone setup
The following video explains how to set up the viewneo stick via smartphone. The setup of the 4K SignageBox is identical.