Special Content (Weather)
In order to be able to use local weather for playlists, viewneo has developed weather content. In order to take advantage, however, you need to purchase the viewneo Weather Plugin.
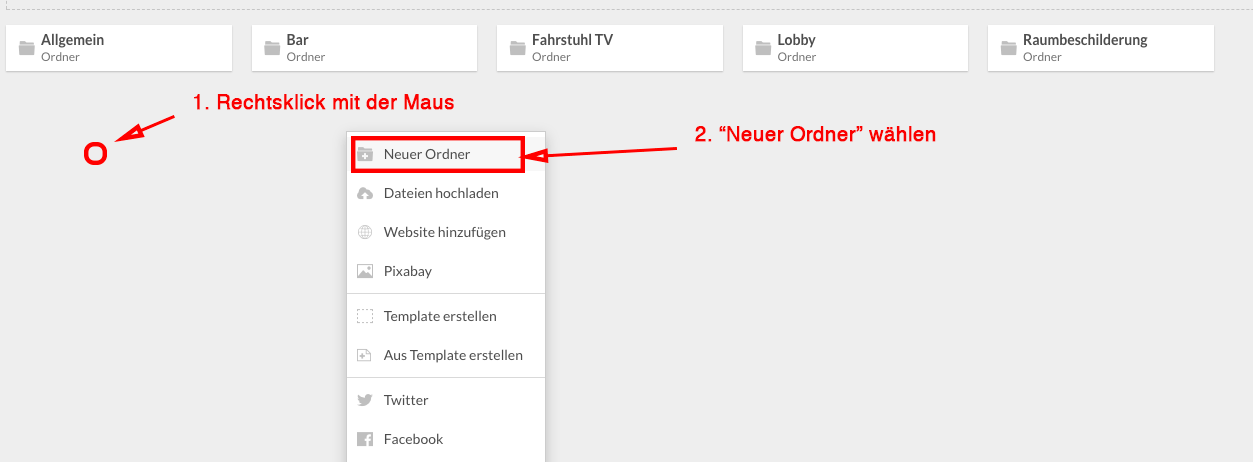
If you have purchased this Plugin, it can be activated by right-clicking in the empty area under Content, in the folder in which you want to place weather content.
!If the weather plugin is not activated, you can purchase it through the viewneo Content Management System (CMS)
Using the Weather Plugin
For our example hotel, we create a new folder titled "Special Content".
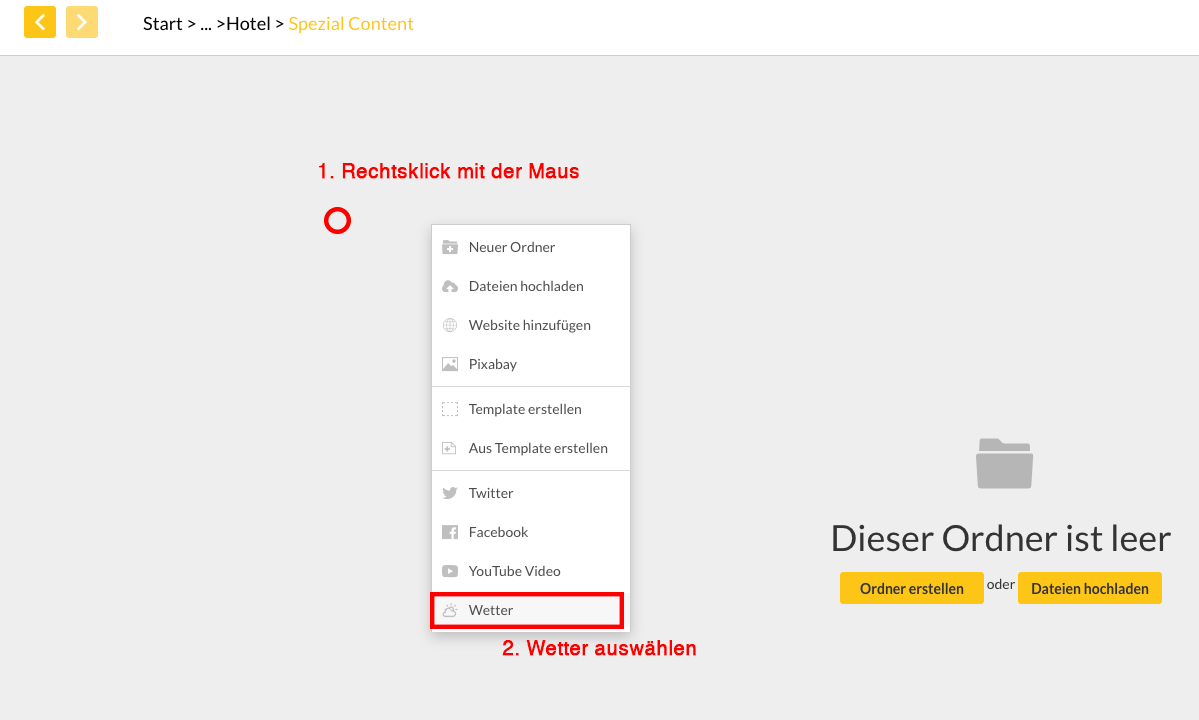
Now we click into the new folder and create the desired content, namely the weather forecast. Right click on an empty area and select "Weather":
We want to choose the local weather for Hamburg. To do this, we enter "Hamburg" into the search box and select the correct Hamburg from the list that appears:

The settings for display name we change to "Alsterwetter", because our model hotel is located on the Alster river:

We also have the option of choosing which unit the temperature should be displayed in (Celsius or Fahrenheit). Additionally, we can also choose which language we would like the weather forecast to be displayed.
After clicking OK, we can see the new content “Weather”. If we want to see how this content will appear in our playlist, we can right-click on the content and select Preview:

Finished
That's it. We don’t have to do anything else to get our weather information up on a screen. The weather data will automatically be updated by viewneo, so we know that the forecast is up-to-date.
Tip: If the place you are looking for is so small that it does not appear in the suggested list, you can see if the next largest city is found in the Weather Plugin. If it isn’t too far away, the weather will be mainly the same. When you enter a display name, you can then enter the name of your city or hotel, so that this is the name that appears on the display.