Slide/Template Designer
By using the integrated viewneo slide designer, you can generate content without the need of additional external image processing programs.
In order to start the designer, go to
Content
in viewneo and click on the Add button and select the sub-item Create Template or Create Slide.

The following pop-up will open:

You will need to enter information in the following fields:
- Name – Name of the new template or the new slide
- Device Group – If it is known for which device the slide or template is created, you can select this device from the list here. The correct resolution (next item) will then be automatically set.
- Dimensions (in pixels) – Here you enter the size in pixels, which should be used in the template. This is not necessary if you have previously selected a display device under Device Group.
After confirming your information with OK, the designer will appear:
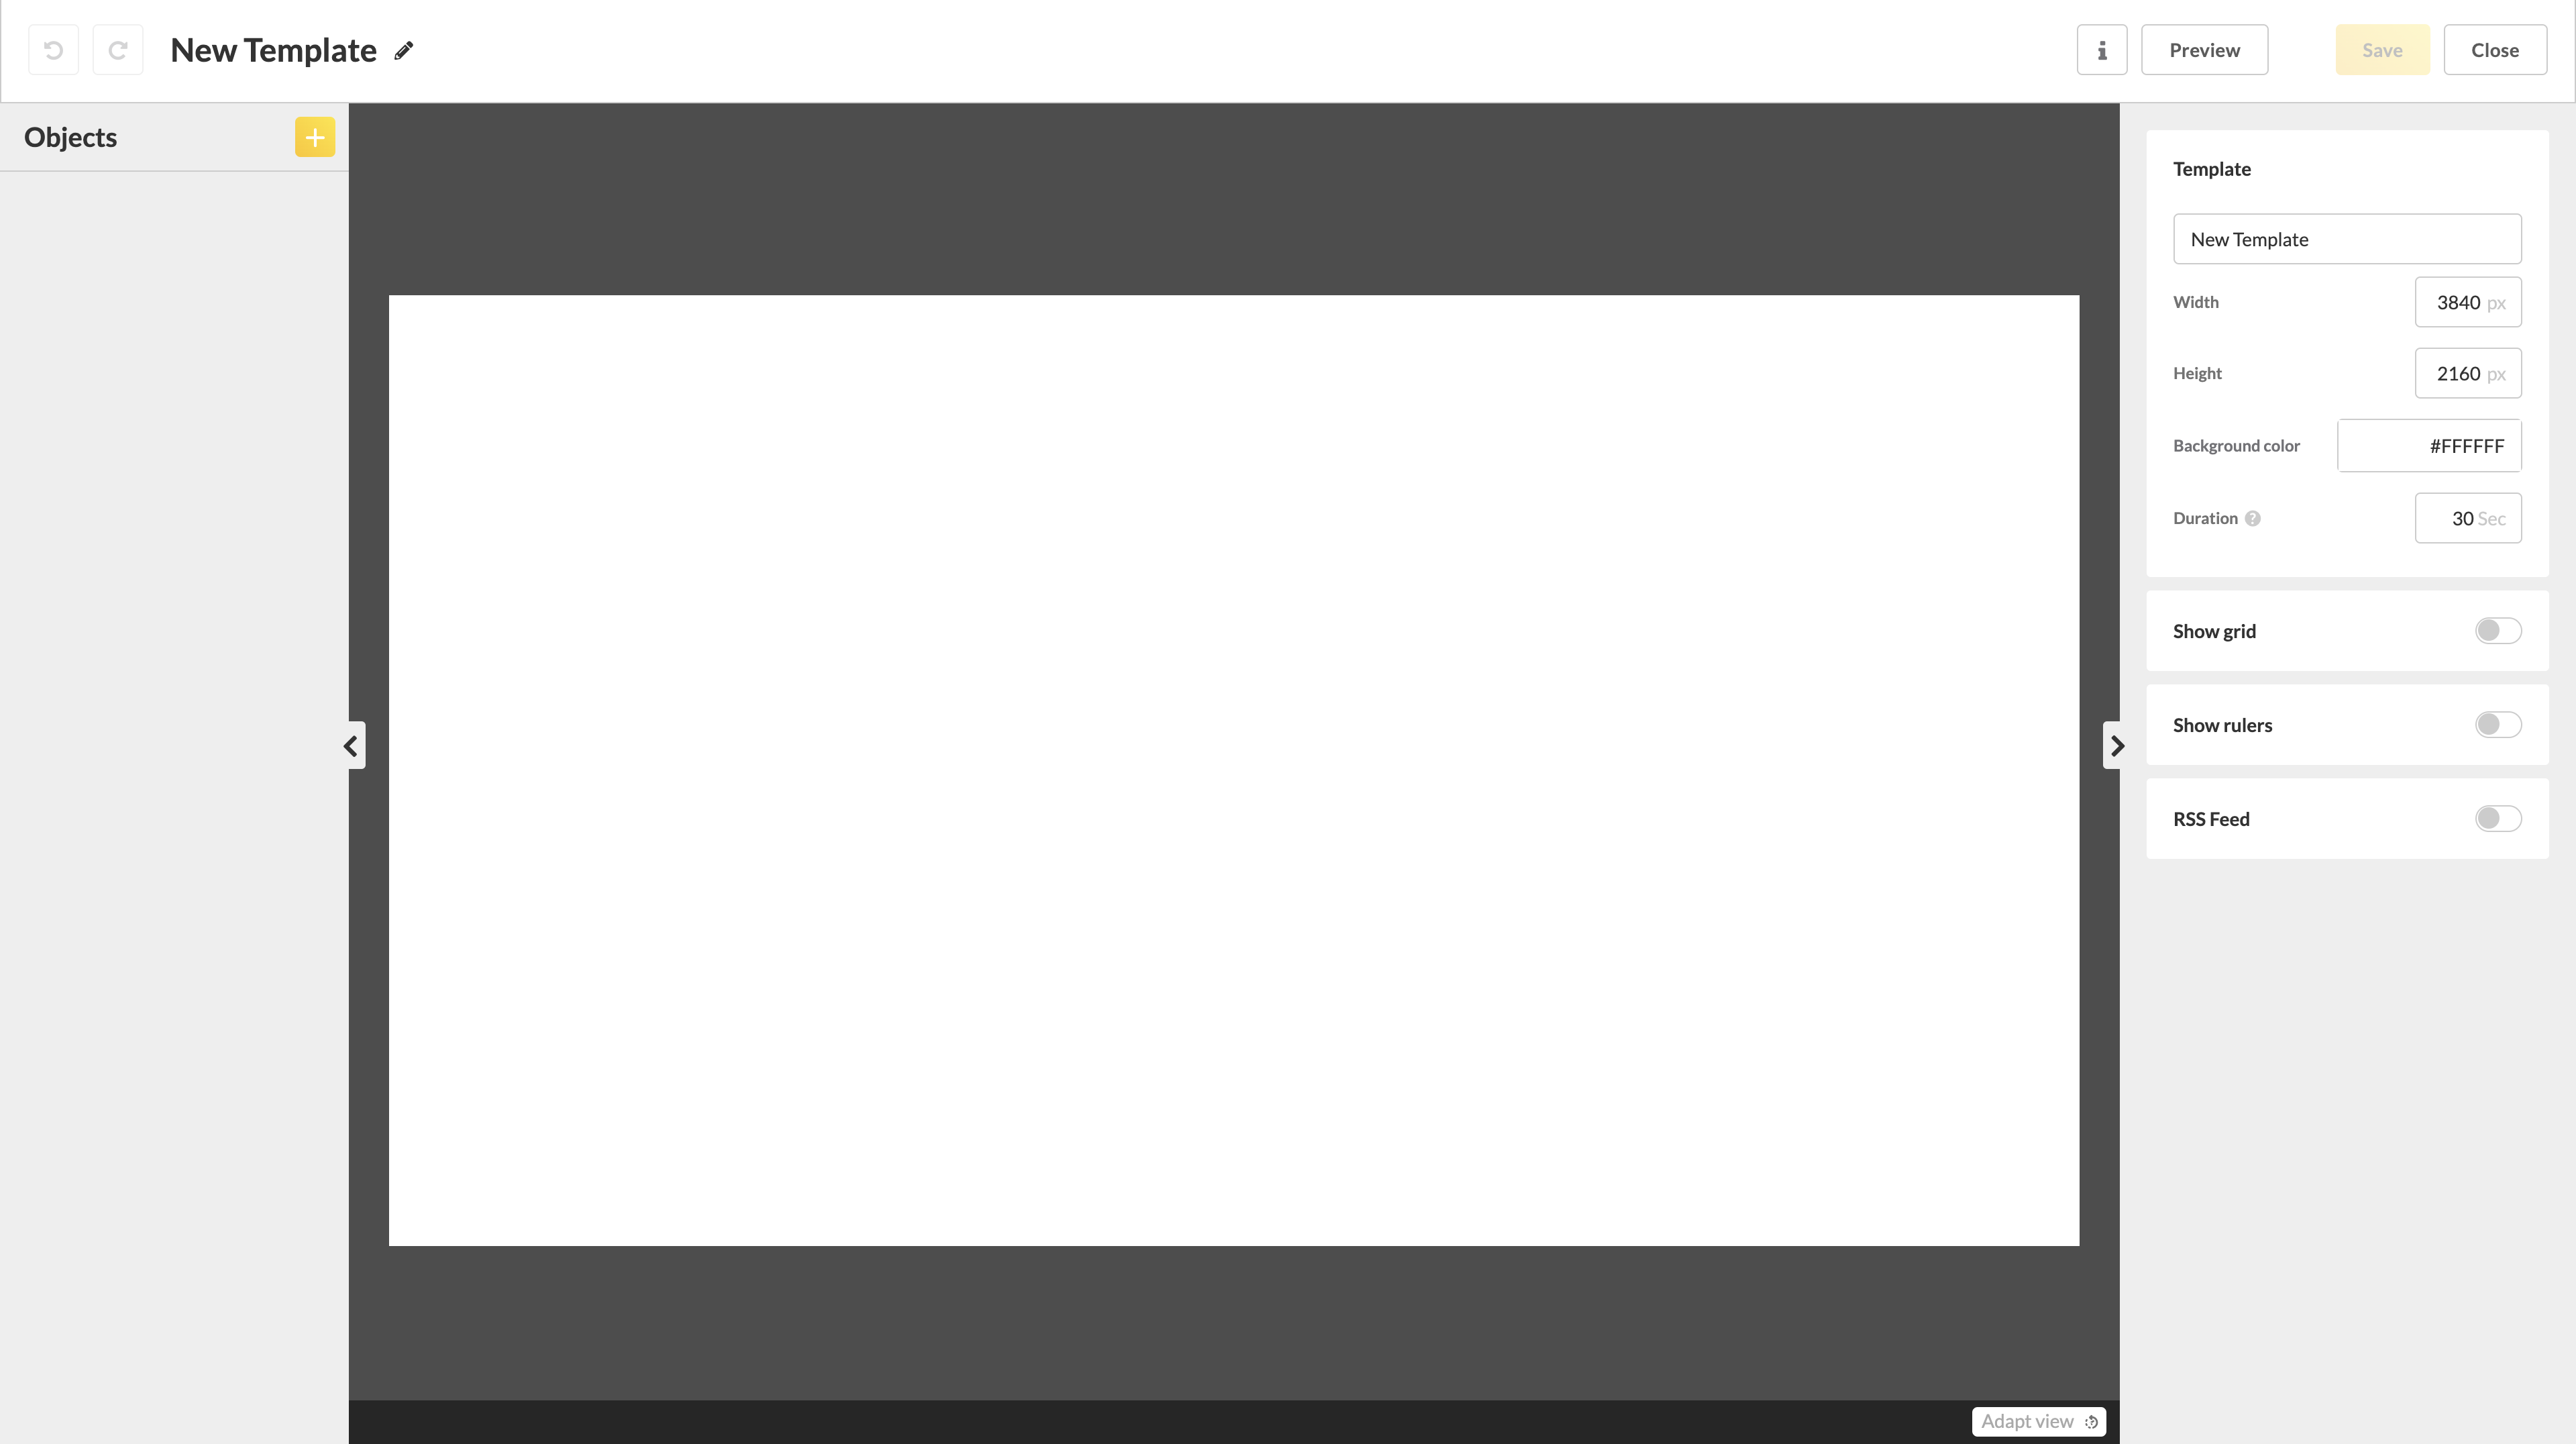
The designer is divided into three main areas
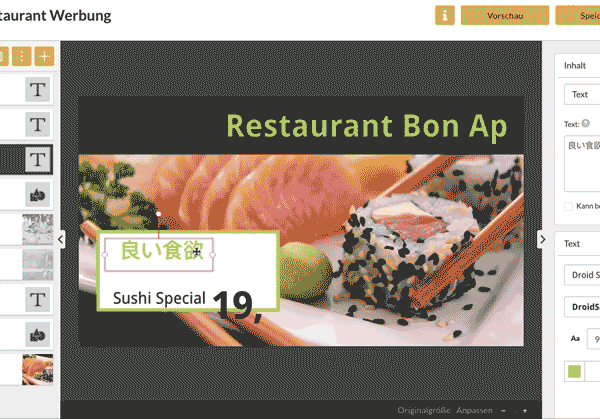
1. Object list (levels)
Here in the left area all objects such as, texts, pictures, videos etc. are listed. Anytime a new object is added, it will be located at the top of the list.
Learn more: Adding Objects
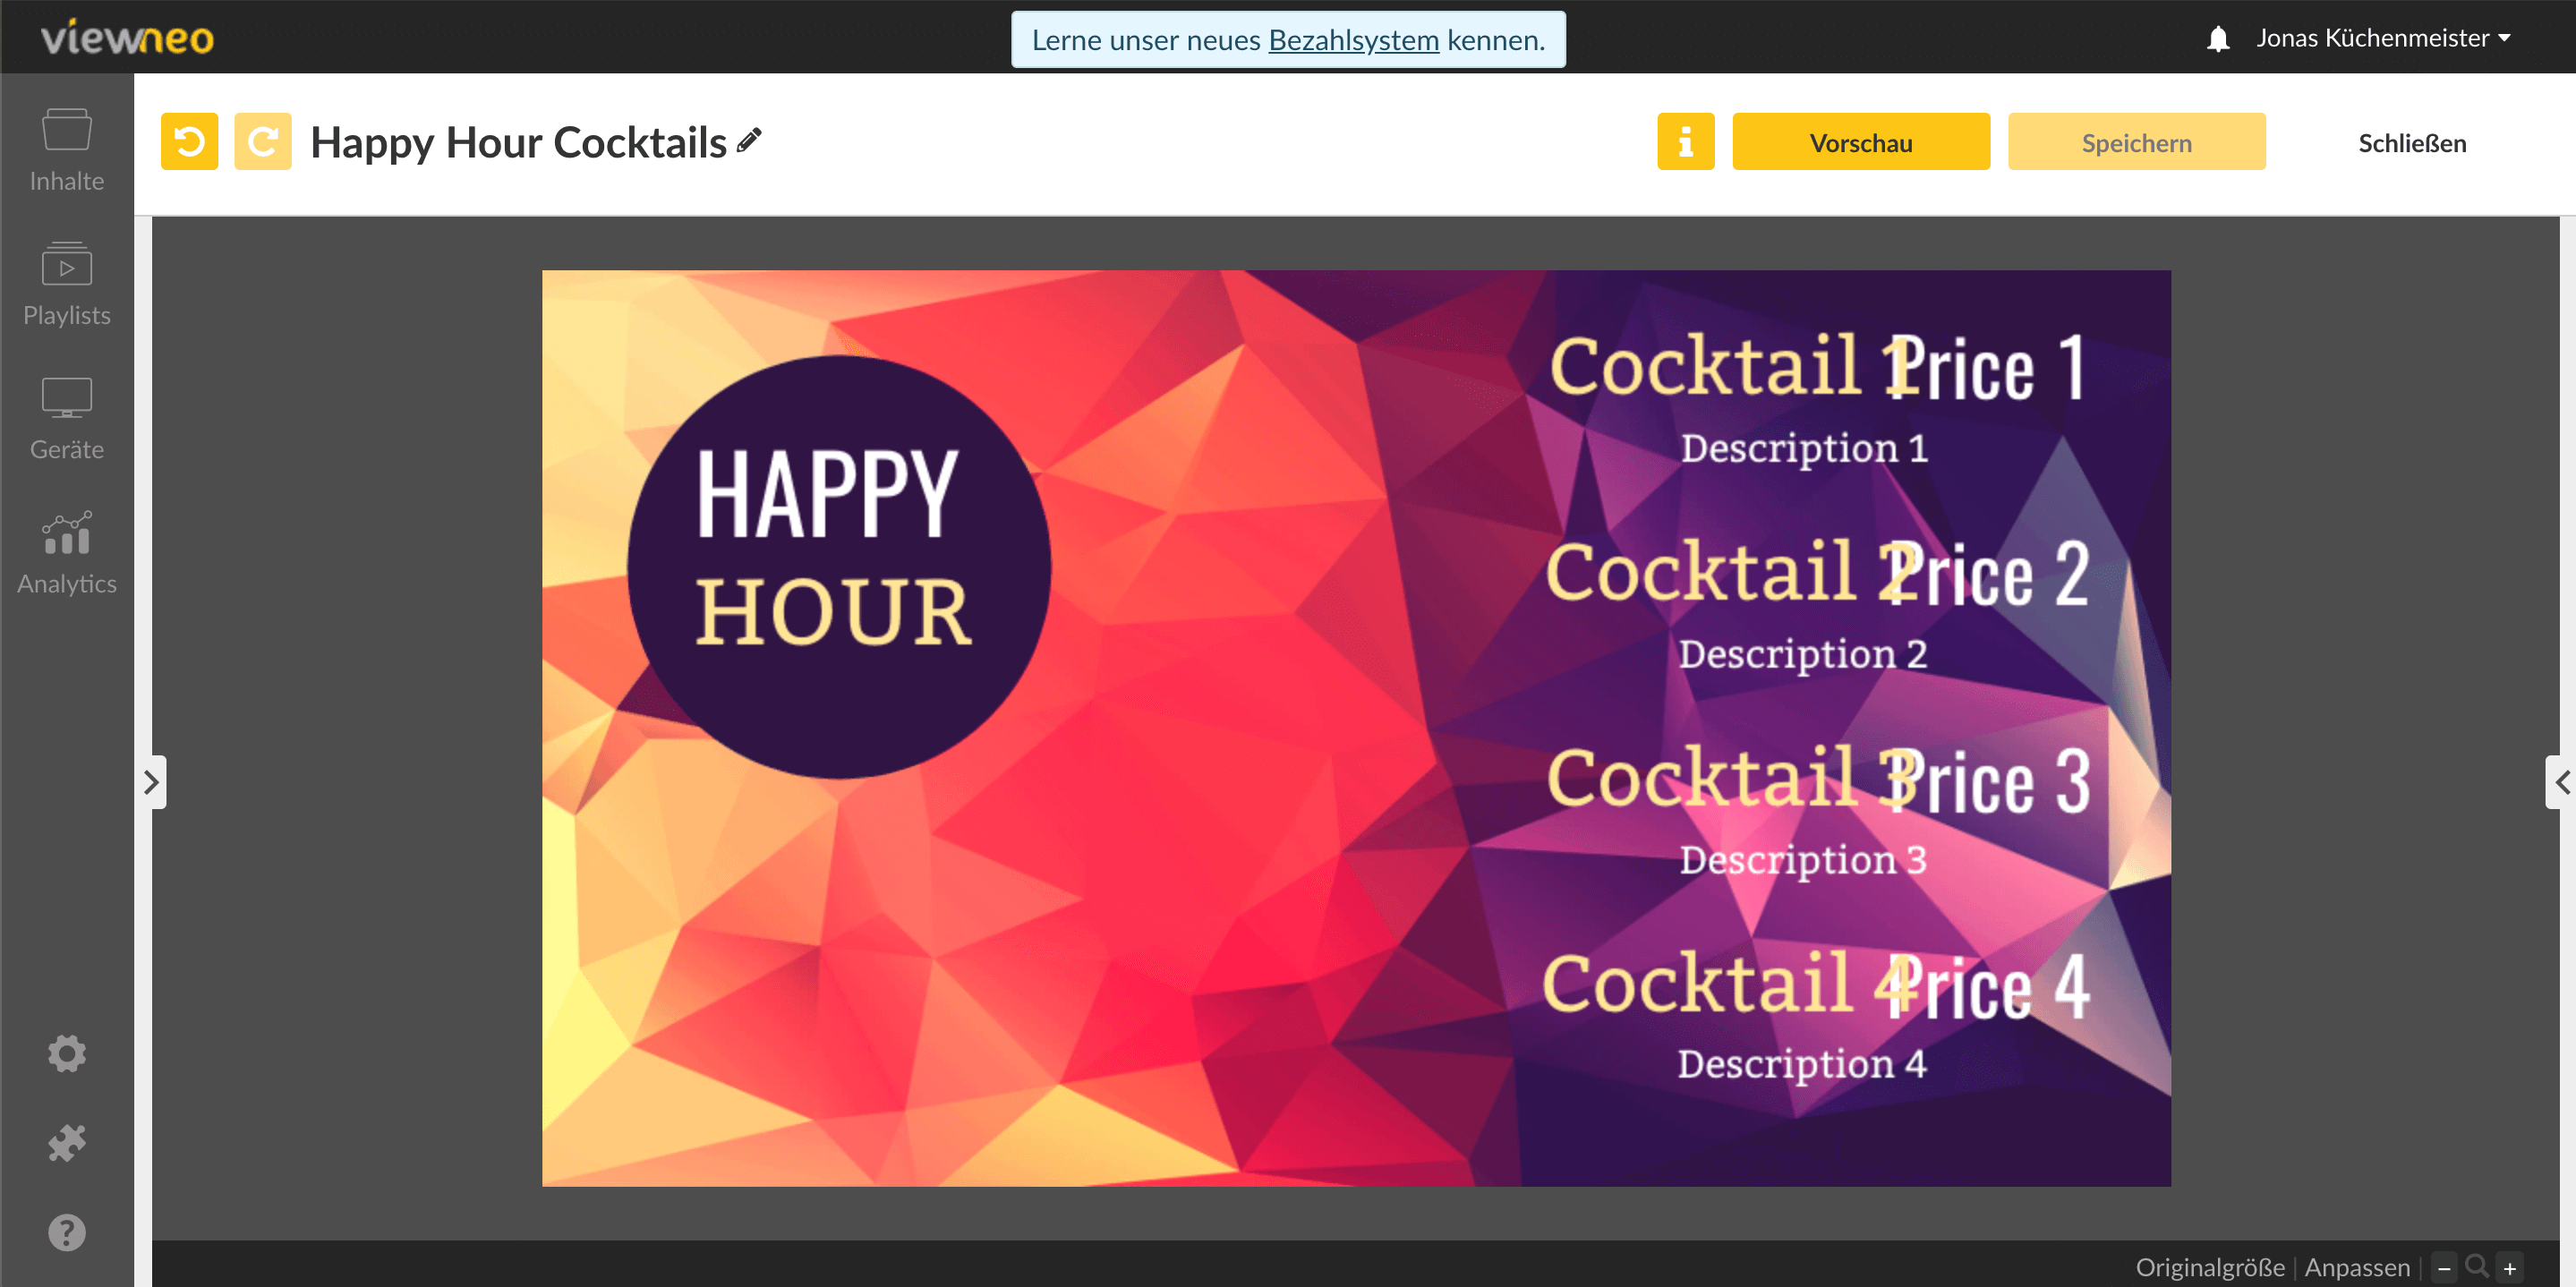
2. Stage Section
3. Property Area
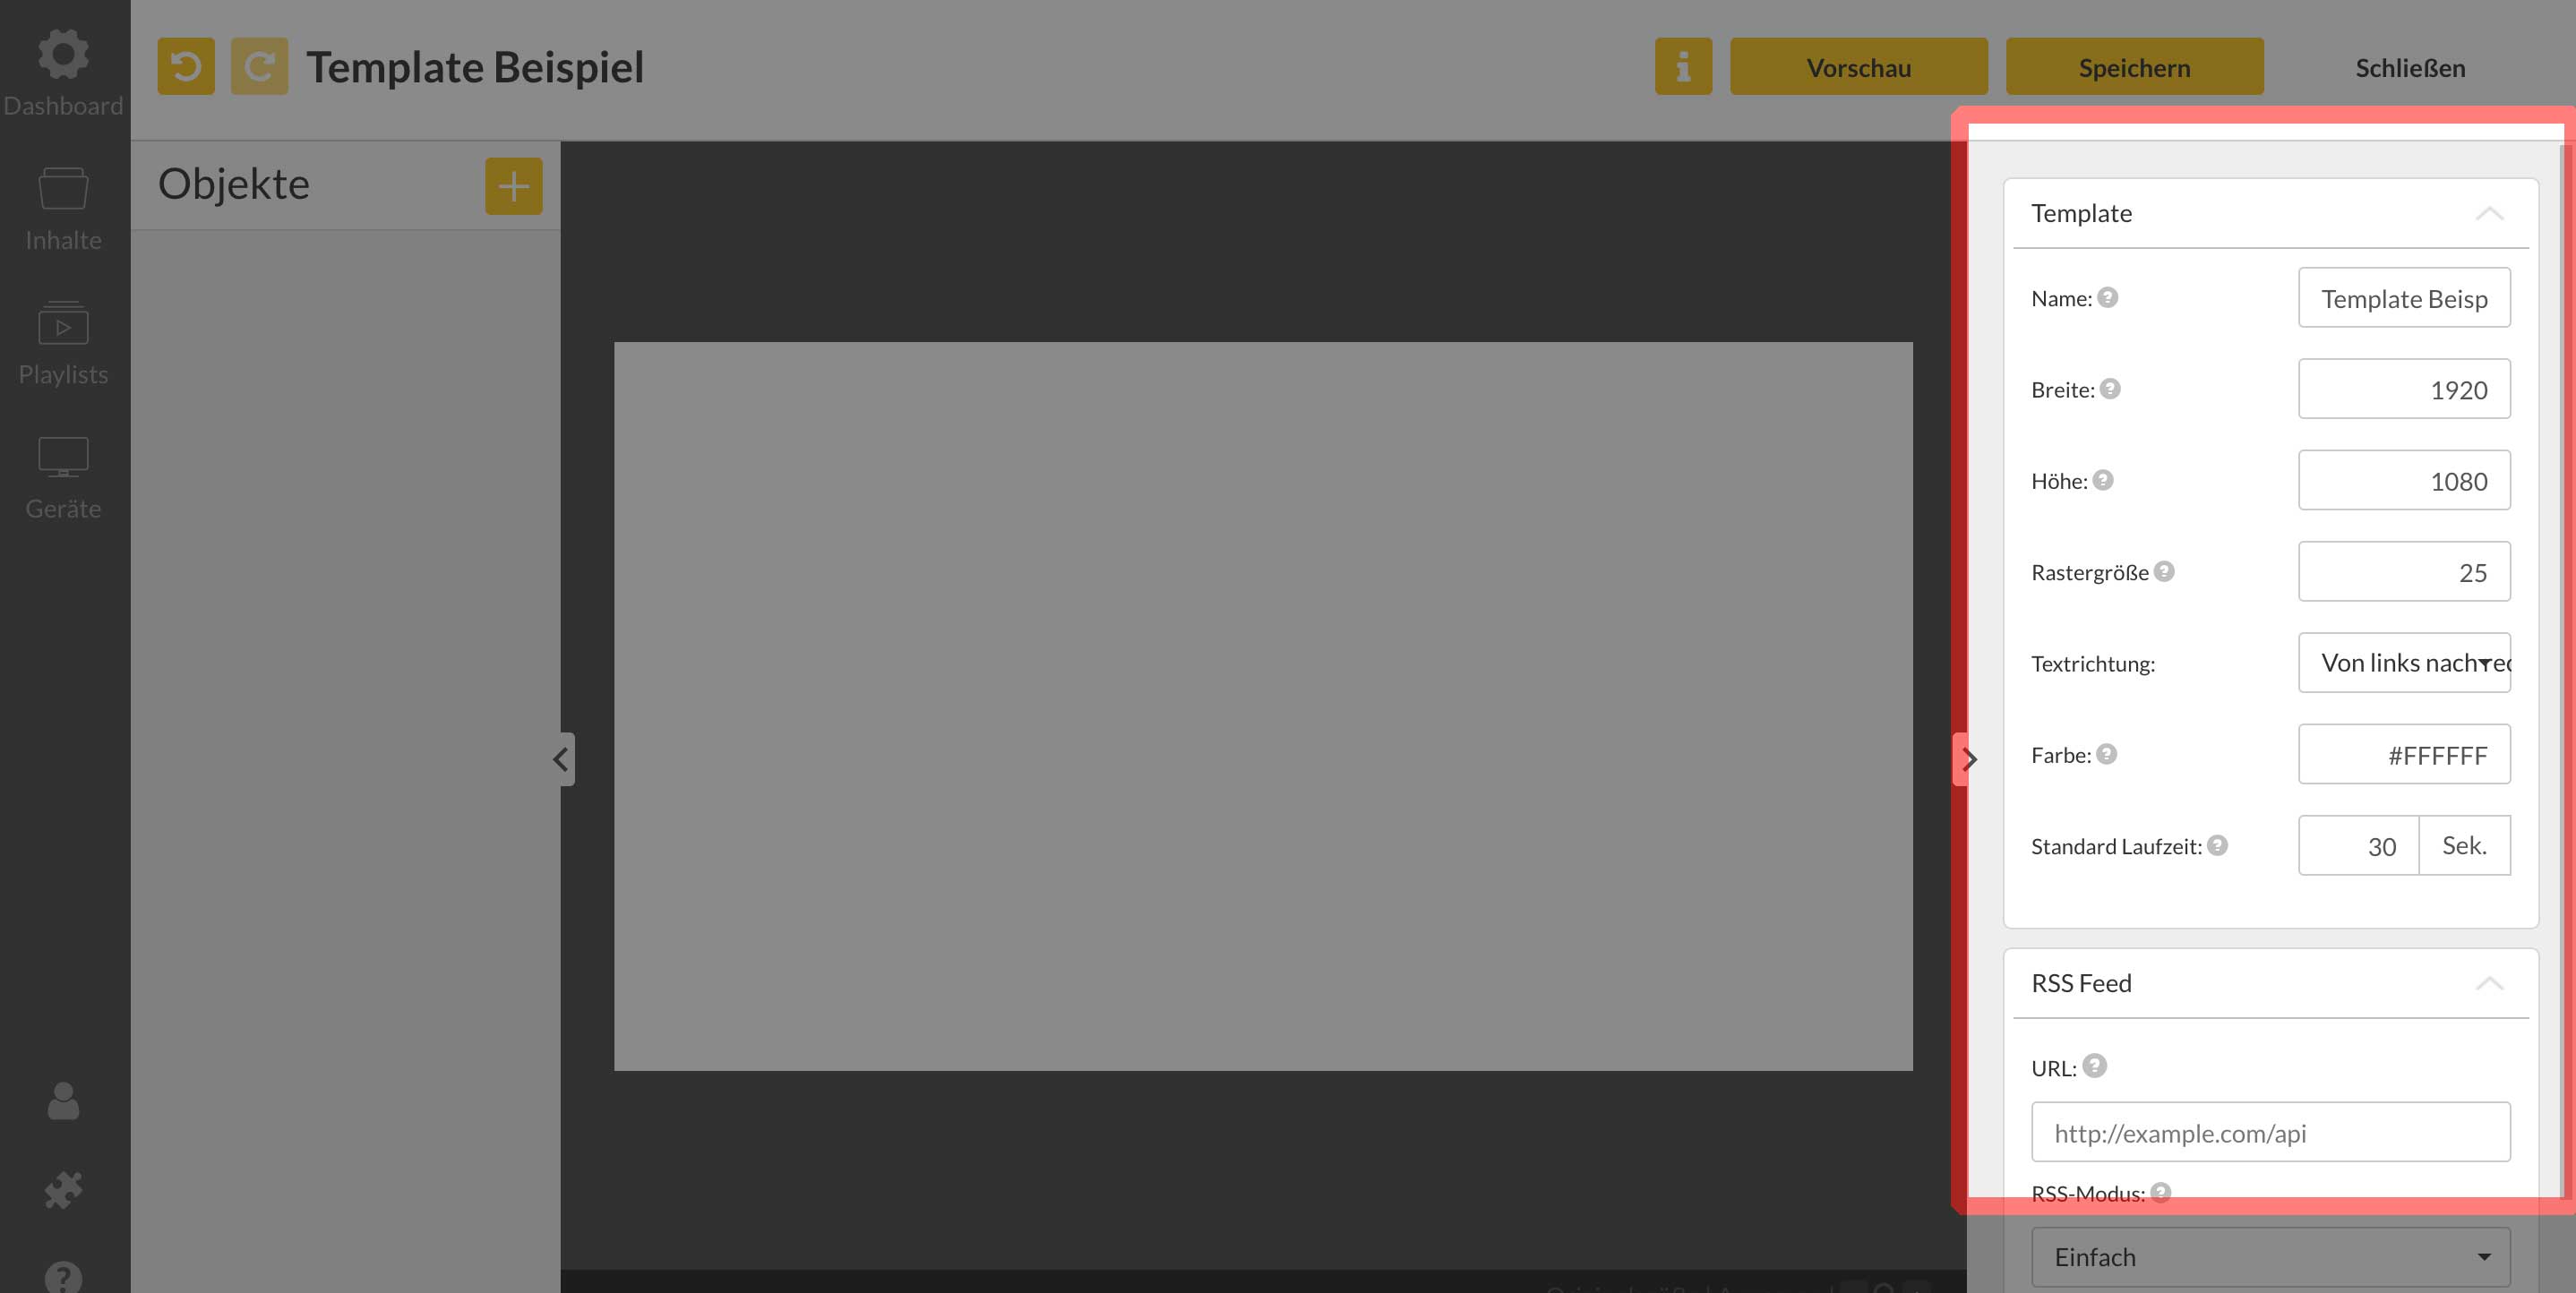
On the right side is the property area. Here you set the properties of the objects that are currently activated. Since there is not a single object in the stage, the properties of the stage are displayed.
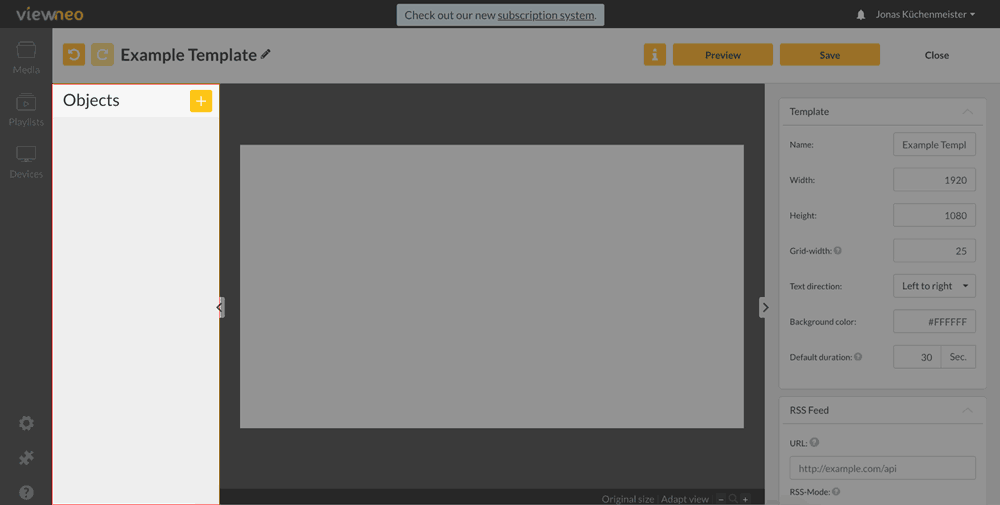
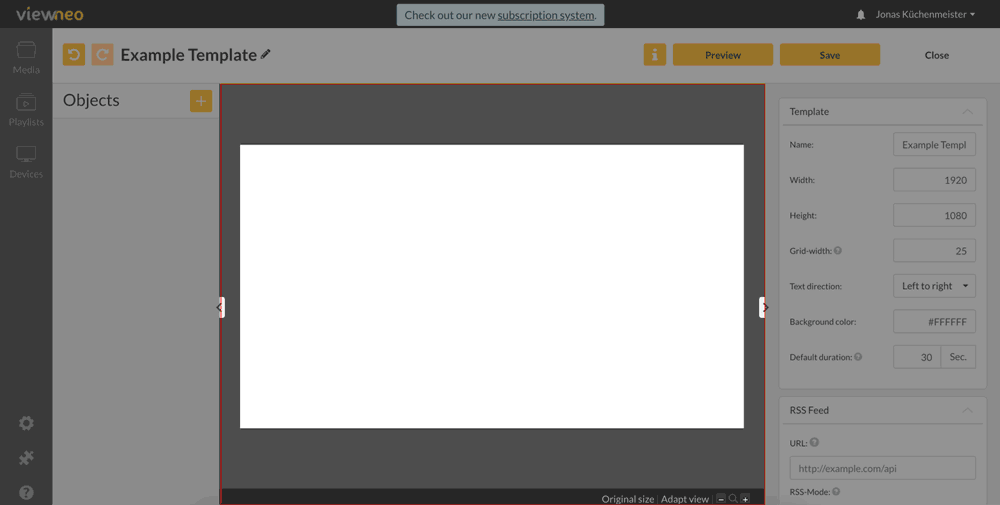
Tip: Hide areas: You can hide the side areas and work with a larger stage. Sometimes the workbench is too small to work due to the layer list on the left and the property pane on the right. These areas can be hidden to increase the work area.
By clicking on the small arrows on the right and left of the stage, the areas on the right and left can be hidden.

Tip! To better align objects, you can press the ALT key to display an auxiliary grid.