Changing the WLAN of the viewneo SignageStick 2 (after initial installation)
You can follow the steps listed below to change the WLAN setting after the initial installation:
-
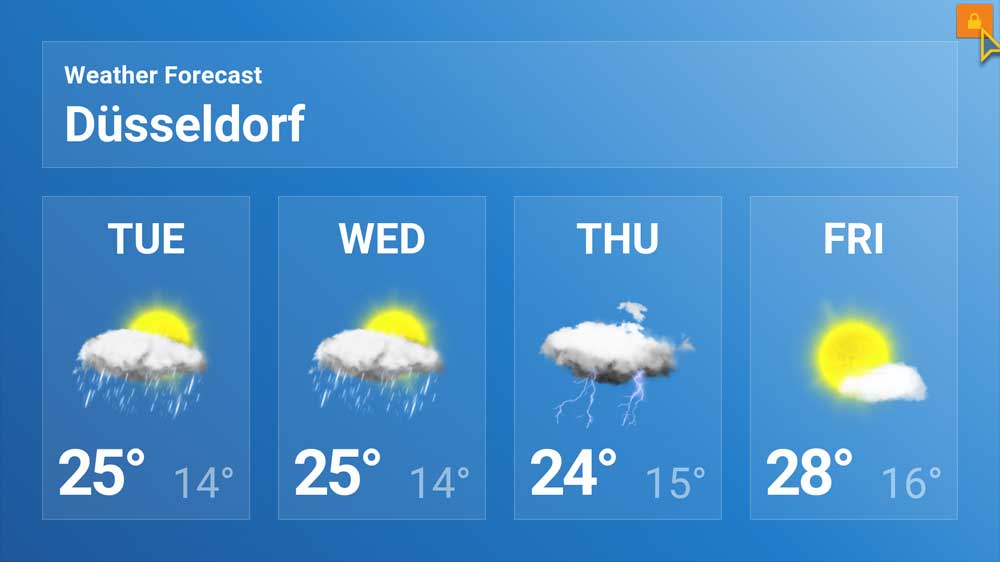
Open player settings by clicking on the lock icon which will appear after several clicks on the screen with a connected USB mouse.
-
In the menu, go to the SYSTEM tab. The system settings can be accessed by clicking the SETTINGS button located at the bottom right.

-
In system settings, click on WLAN, select new network and enter the corresponding password.


-
Once the connection to the desired network has been successfully established, press the back button on the remote control repeatedly until you are back in the menu of the viewneo player.
-
Finally, select the tab PLAYER, which will cause the playlist to begin playing again.