Slides and Templates in viewneo
Working with Templates (Template Designer)
Since all content such as offers, greetings or current messages and notes are to be displayed in a previously defined design, creating templates are a great way to accomplish this project. This has the advantage that you can quickly create new content and have it work with your existing content.
Difference between a slide and a template
A Template is a way to create content (ie slides). However, templates can’t be used directly as content (slide). They can not be used in a playlist. Only the content (the slide) created from a template can be added to a playlist. Templates include fixed and replaceable elements. For example, in a template, e.g. the company logo can not be moved or replaced when using the template. The logo has been created as a fixed picture element. Elements that are declared as "can be edited" when creating the template are then able to be modified at a later time. However, these changes only relate to the content (ie which text content) - but not to the font, color, position, etc. Changes to templates will also affect the slides created from these templates later on.
To use a template, you must:
- Create a template (create template)
- Create content from a template (create slide)
- Content - for example slides which are used in playlists that are then broadcast.
A Slide A slide is considered content. You are able to use a slide in your playlists, in addition to , copying them and making changes. You can always edit both a slide and all of the elements of a slide (such as logo positions or other important and edit all the elements of a slide (including logo positions or other important criteria.) Any changes that you make to the original copied slide, will not affect the any resulting copies.
Create a first template
In our example, we want to create not only slides, but also then duplicate these slides in order to change images and texts within the slide. The best way to accomplish this is to use templates. As outlined above, there are several critical differences between slides and templates, which this example will help to illustrate.
Elevator TV template
We will now create a first template for the screens located in the elevators. The first step is to click on Content located in the menu area on the left-hand side of the viewneo Content Management System. 
- We have created a new folder "Templates".
- In this folder, we can create a new template by clicking anywhere in the empty area with the right mouse button.
This will open a drop-down menu:
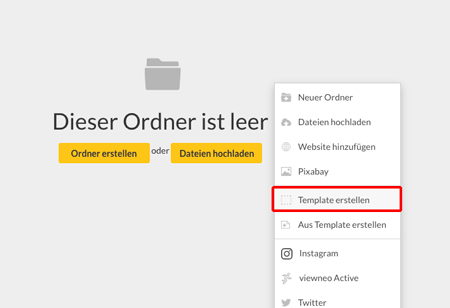
Now select the menu item "Create Template".
If this menu item "Create template" is missing, the plugin "Template-Plugin" has to be activated first. How to activate a Plugin?
Create a new template (restaurant advertisement)
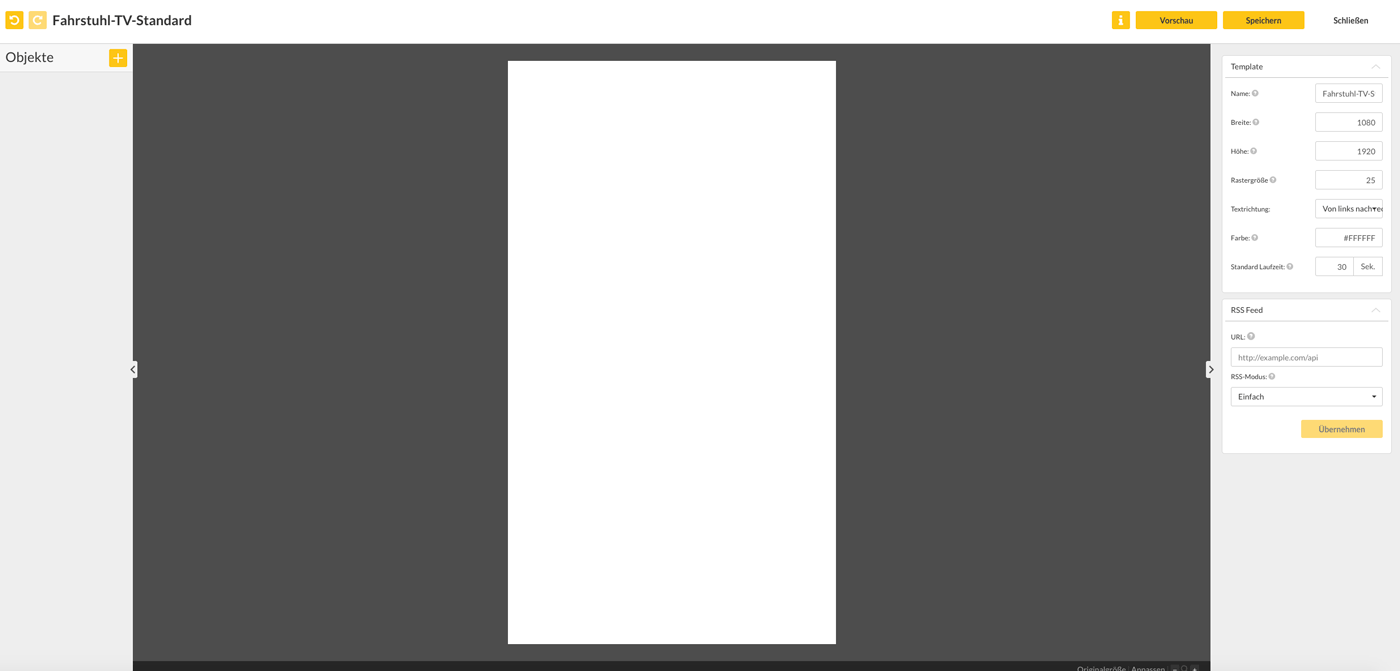
As soon as we have selected "Create Template" in the menu, the following menu appears:
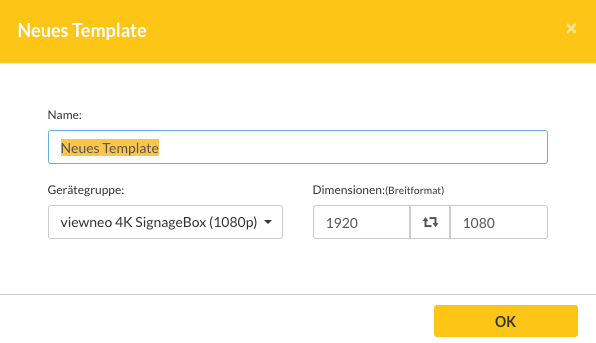
Here we can enter a new name, as well as, adjust the resolution and ensure that the content is displayed in portrait mode (ie portrait format).
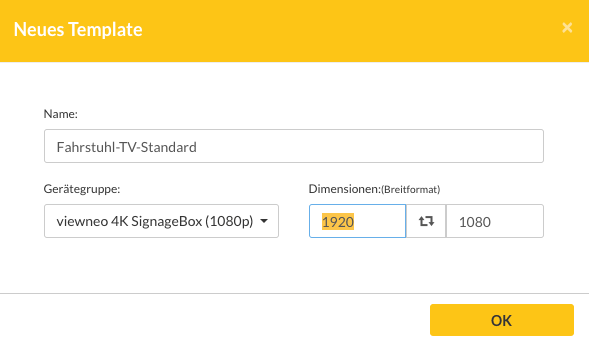
To do this, we simply swap the numbers in the screen resolution boxes and set the numbers as follows:
Now the empty white area of a portrait template is displayed.
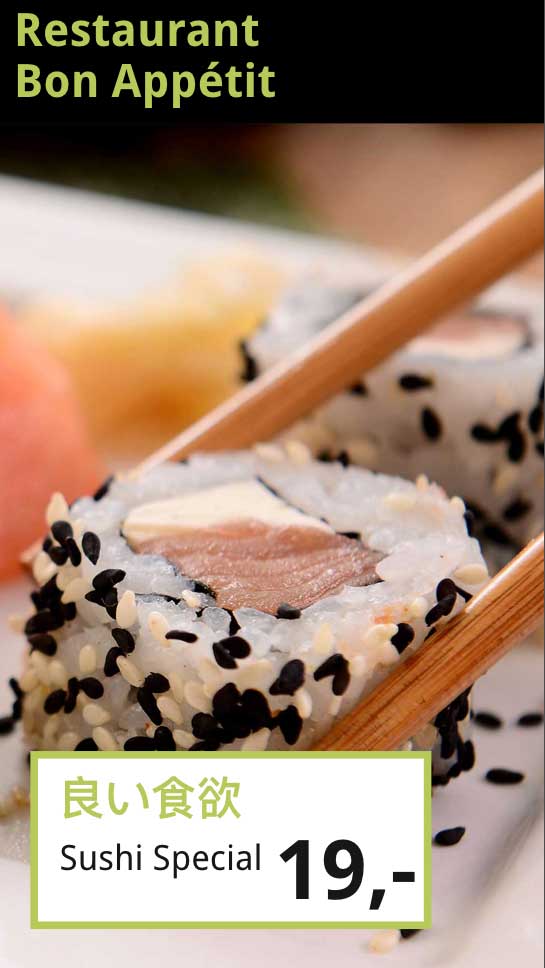
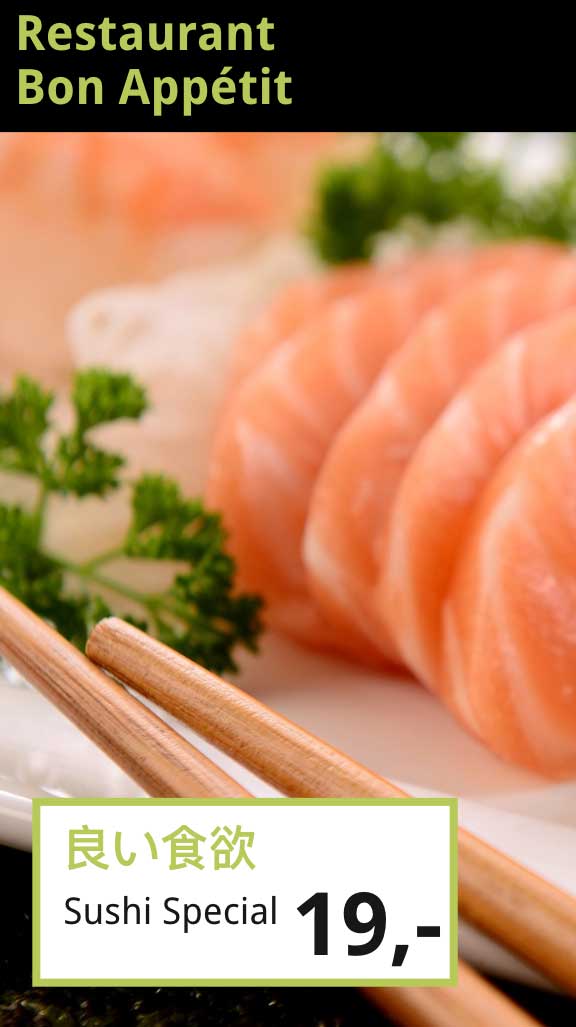
The finished template should look like this.
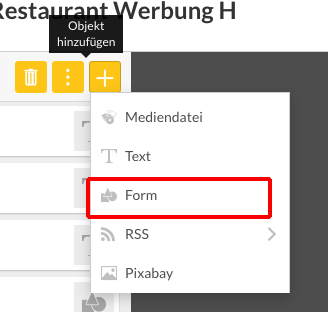
1. Create a black area for the header: Click on the button with the plus symbol and click on "Form".
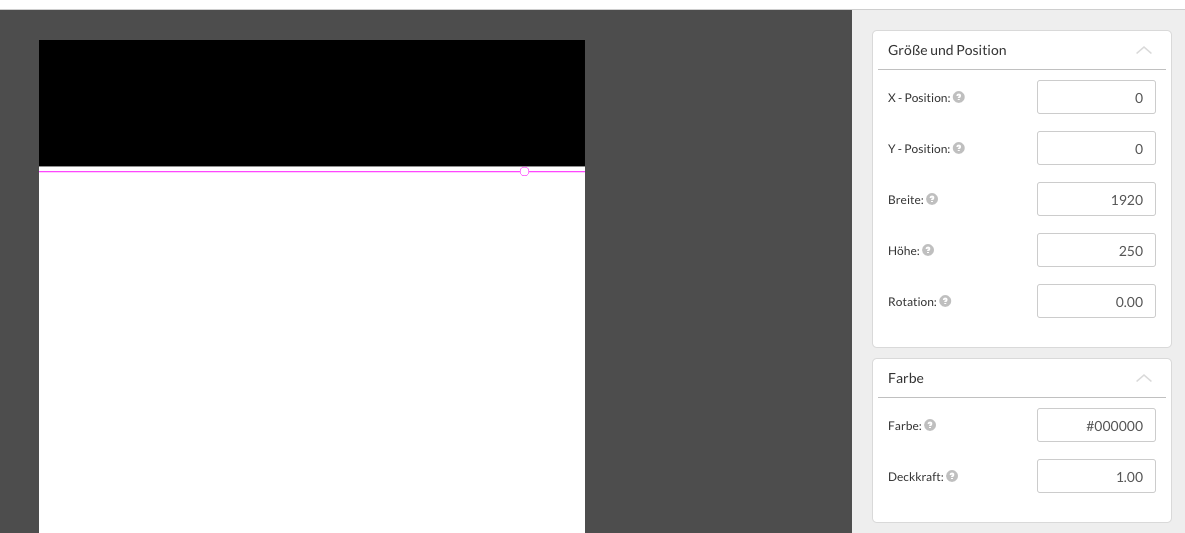
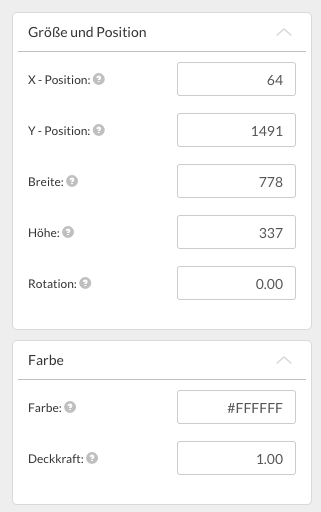
2. Define the properties of the shape
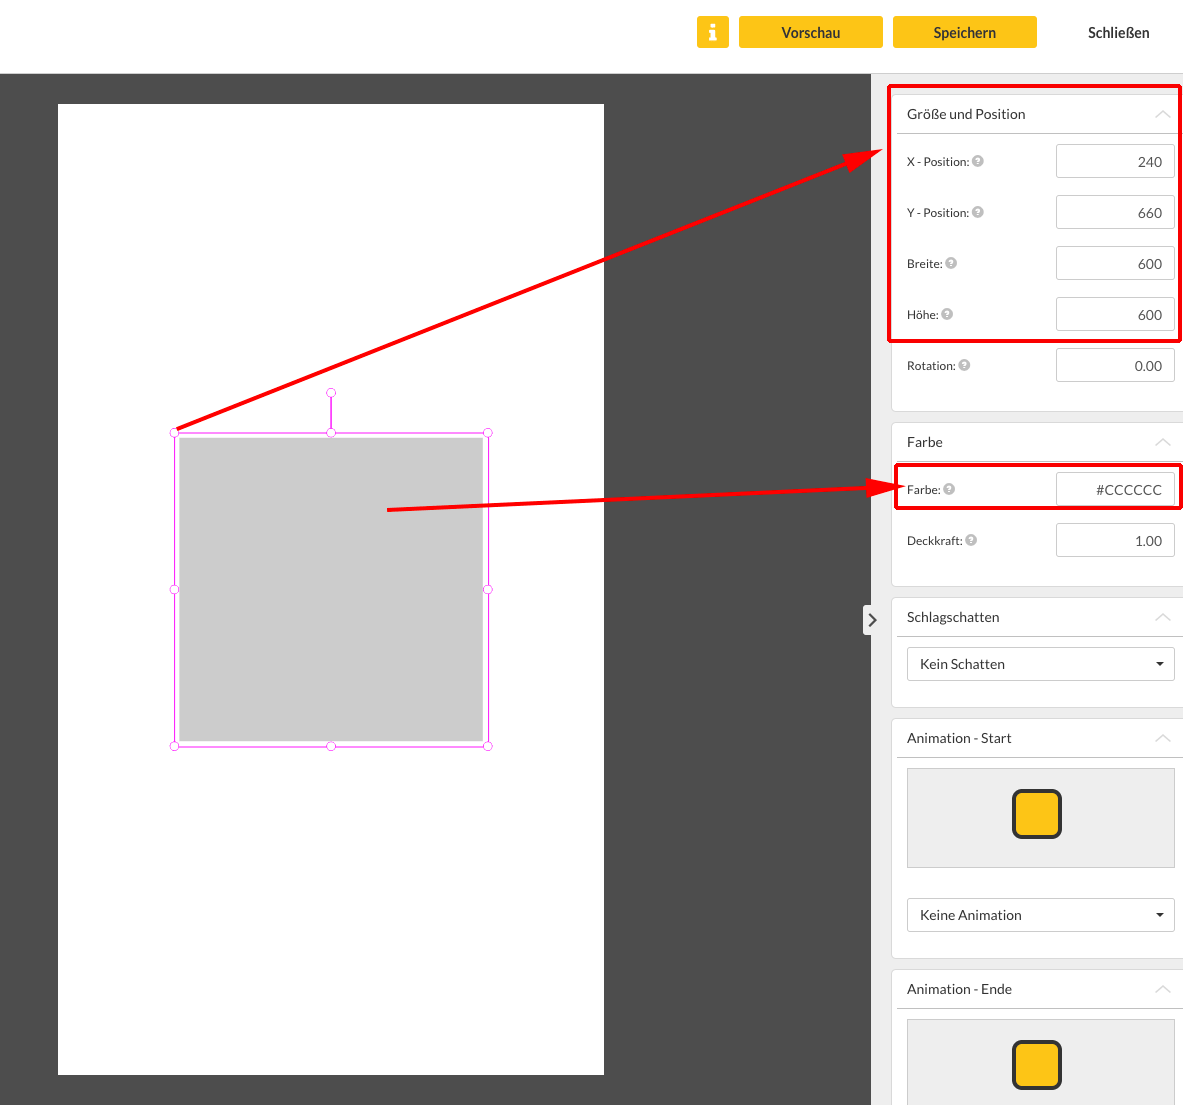
In order to set the properties, you need to select the object (in this case the shape). On the right-hand side is a list of all of the properties which can be modified. To move the object you can either move it with the mouse or simply enter the number for x- / y-position directly.
In our case, we want to position the black bar at the top, be 250 pixels high and go across the full width (ie be 1080 pixels wide).
Therefore, we will enter the following values:
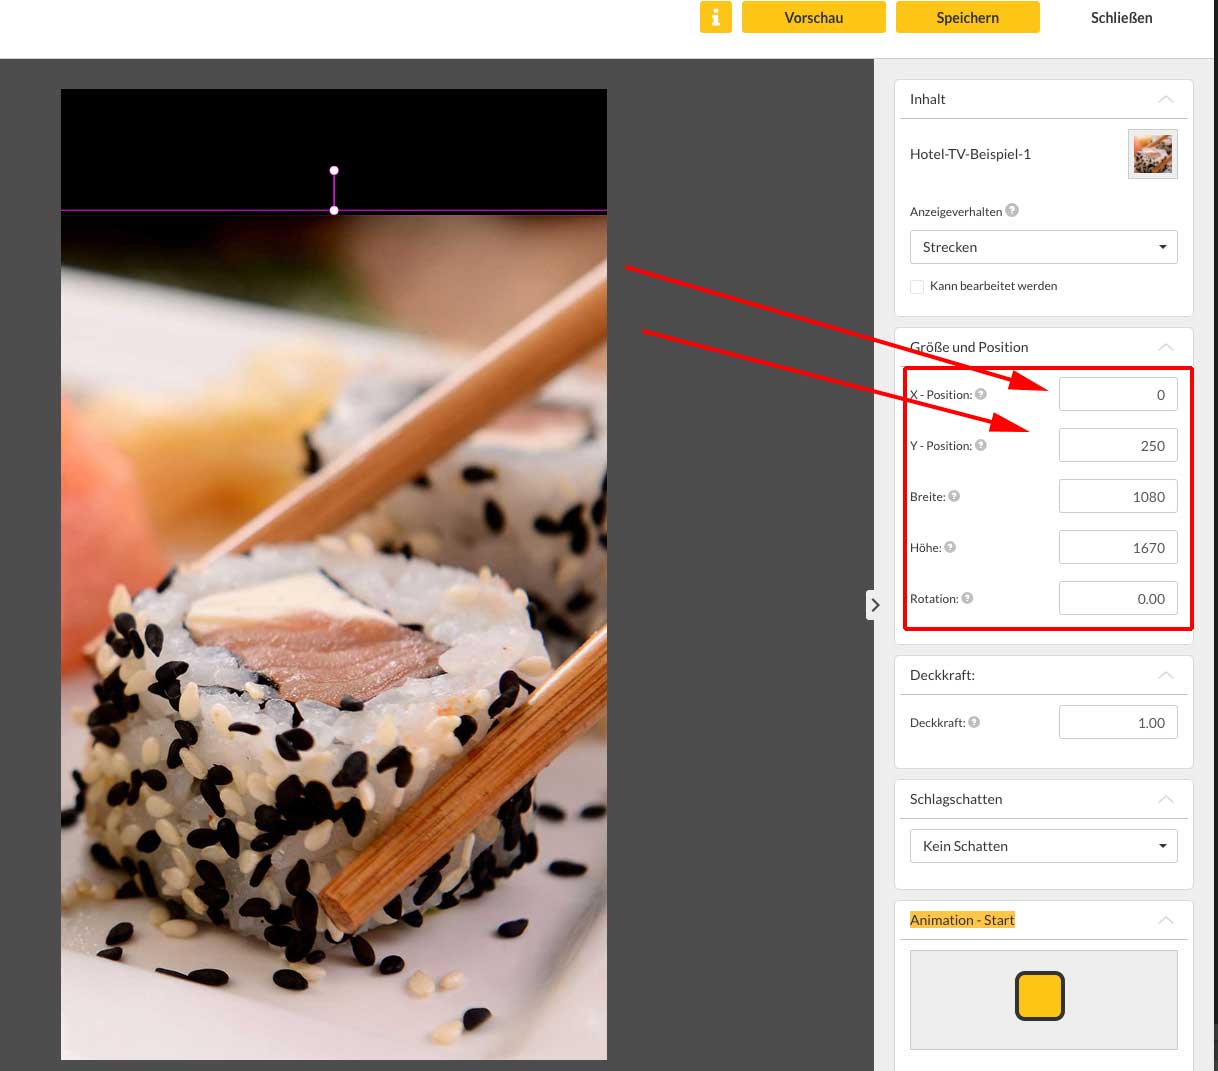
1. Use image: Click on the button with the plus symbol and click on "Media file".
Or if you want to use an image from Pixabay, you can click on "Pixabay" in order to select an image to use.
This action will open a dialog box that will allow you to upload an image. The image that we have selected has the following dimensions:
- Width: 1080 pixels
- Height: 1670 pixels (1920px - 250px from the black bar)
You can download a corresponding picture here:

Now we can use it as a new image in the Template Designer.
Position image: To position the image, we use the following settings:
Add text
Our next step is to add text. To do this, we click on the plus symbol on the top left and select text.
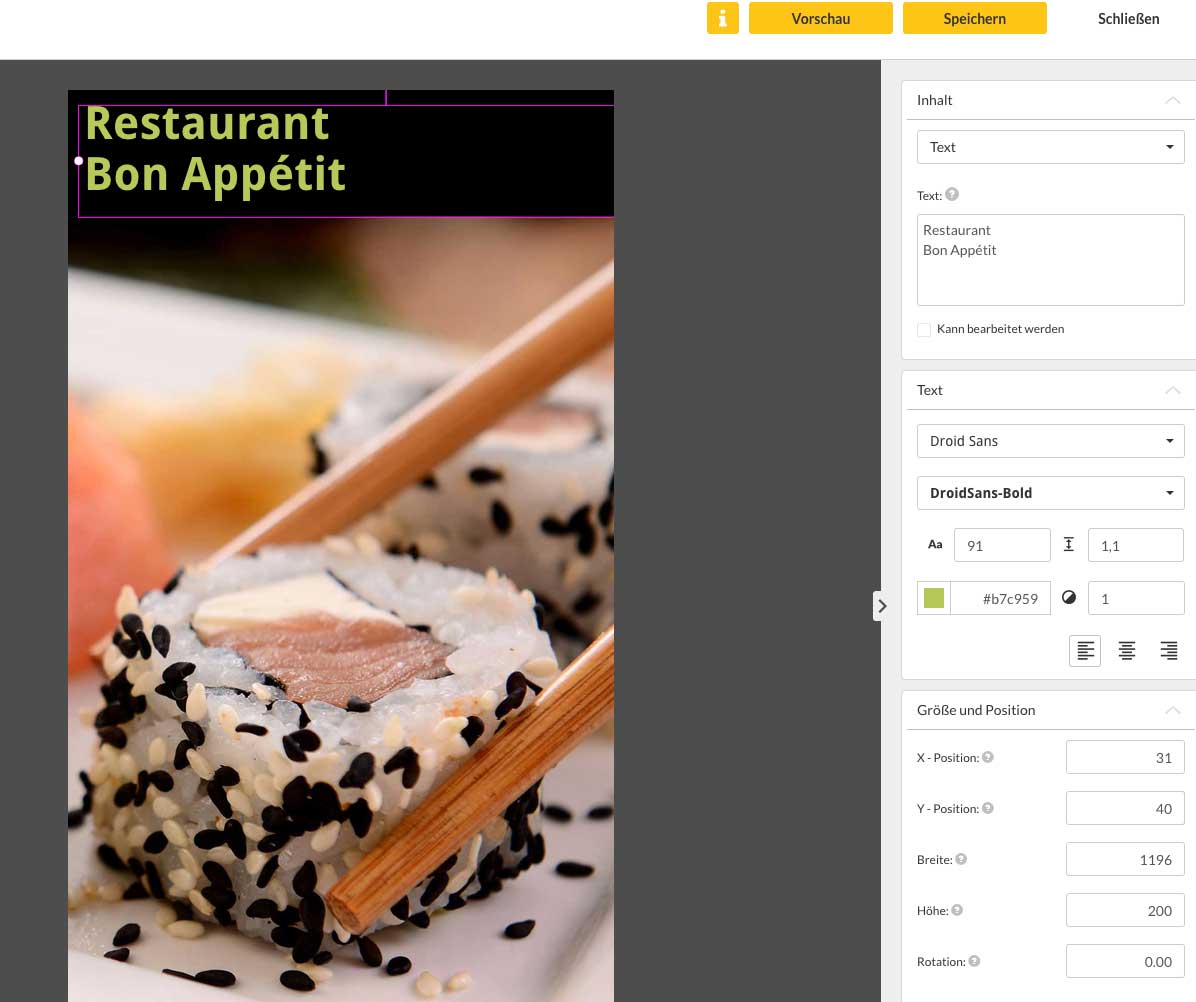
We enter the appropriate values for size and position on the right again. Then enter the following text:
"Restaurant Bon Appétit"
Add another shape
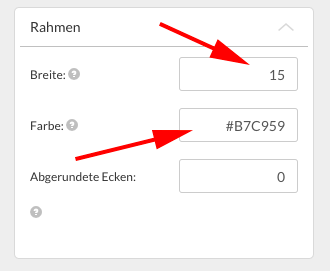
In order to add additional background text, we will need to add another form
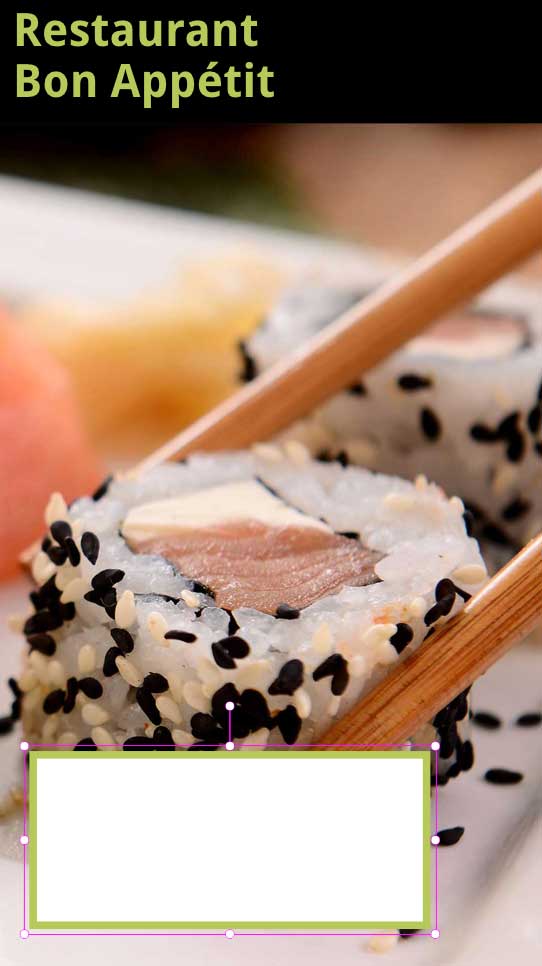
with the following settings:
and
Adding additional text elements
Finally, we add three more text layers,
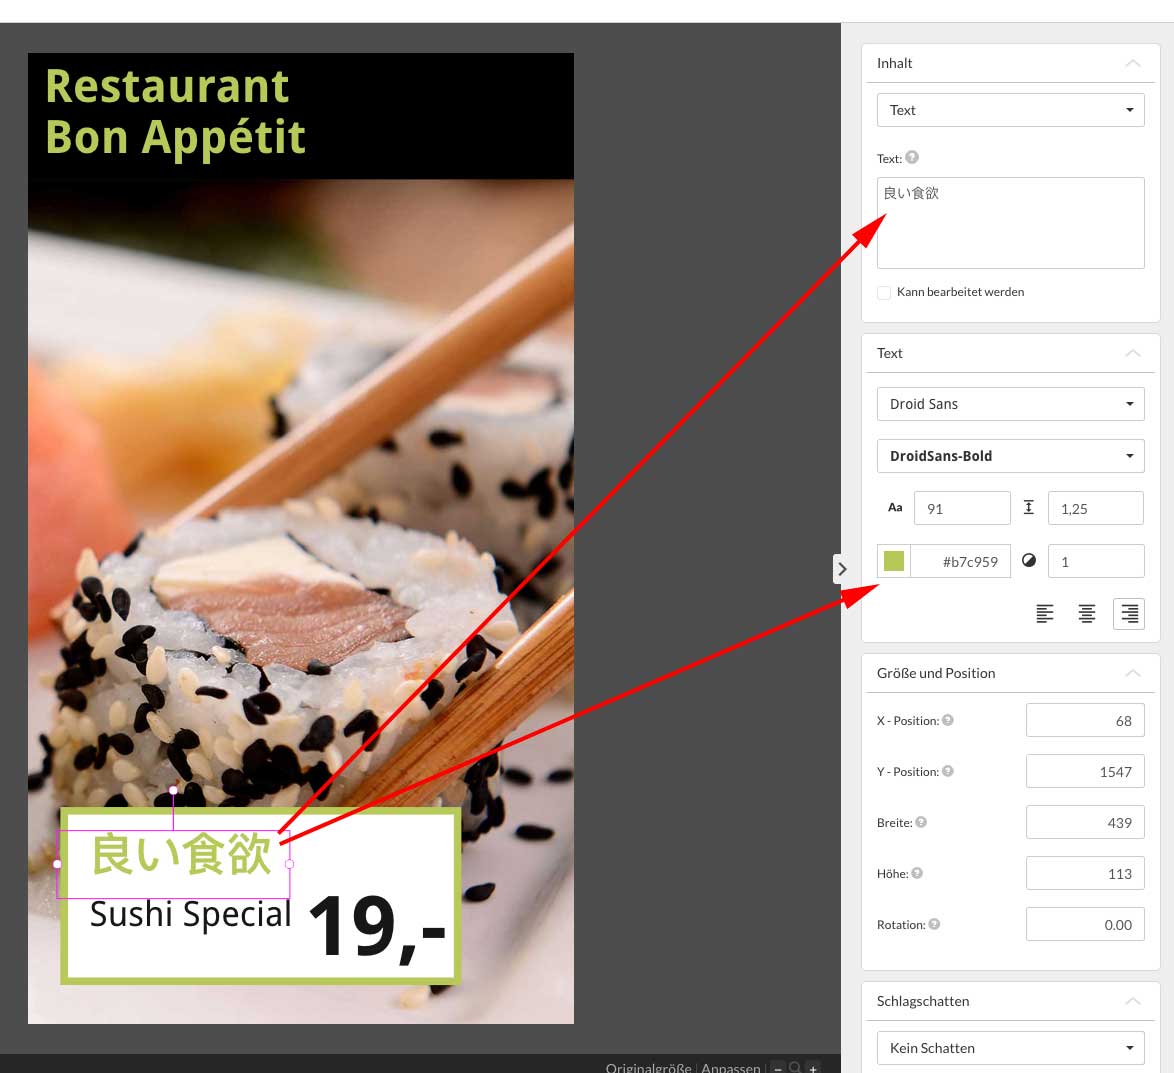
We reposition these elements, to the get the following end result: