Animating Content
So now our template looks like it is almost done. However, we still want to add some animation, so that our content captures the viewer’s attention.
As we showed previously when designing the template, each object can be modified individually.
Add animations
The following steps show how to animate content:

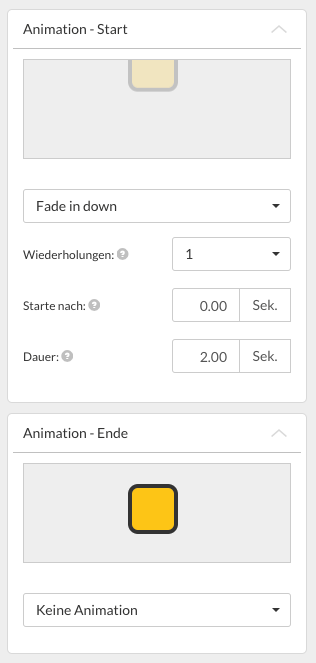
To accomplish this effect, we can edit the template we just created and animate the different layers. The first layer to animate is the big picture with the sushi plate. By clicking on the image or by activating the layer where the image is located, we can find the setting options for animations located in the right part of the screen.
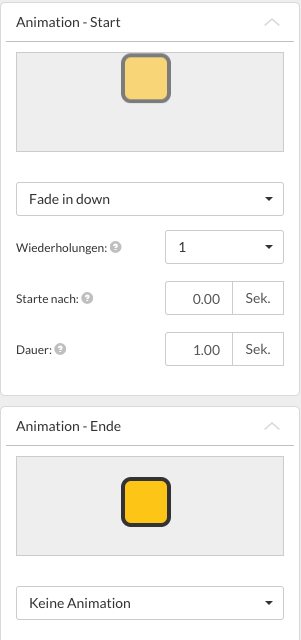
Animation - Start This setting allows you to specify when you would like the animation to begin. The time is based upon the start time of the image in the template. Animation-End always refers to the time that the image is no longer displayed in the template. In our case, we want the object animation to have the following settings:
- "Fade In" as animation type
- Repeat only once ("repetitions")
- Start immediately ("start after")
- Last for one second ("duration")
So just like in the previous examples, we can now adjust the settings for the different objects and layers. Next up is the black area which is located at the top of the screen. We do this by clicking on the corresponding layer or on the object directly in the template designer.
The following settings are used to animate the black area at the top.
As you can see in the picture, we use only one animation at the start of the template (that is, when it is displayed). No end animation is used. An animator is started at the end, just before the end of the template.
Animation - Start always refers to the time to start displaying a template.
Animation - End always refers to the time to the end of the display of a template. Times are based on the time in seconds before the ad ends.
Display preview
Curious as to how any changes that you have made will actually look, you can see any changes, by clicking on the “Preview” button.
Animate other elements
Once you understand the basics of animation, you can finish animating the other elements to get the following end result:
Defining replaceable elements in the template
To allow you make modifications to your templates in the future, it is helpful to define which elements should act as placeholders. In our case, we want to consider the following elements as placeholders:
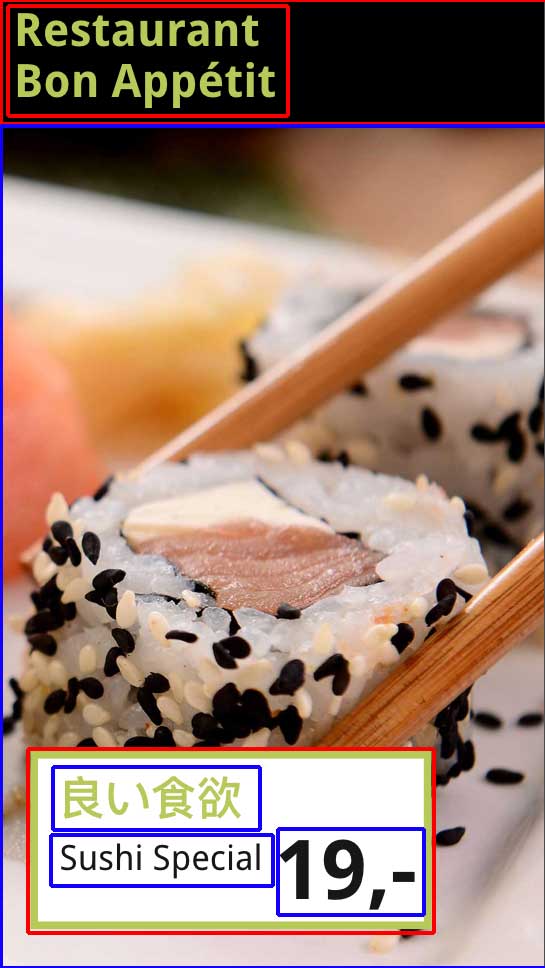 The elements which are bordered in blue contain variable elements. These are elements that we would like to be able to modify with other texts or images at a later time. The elements which are bordered in red are considered fixed elements.
Setting elements as variable objects (placeholders)
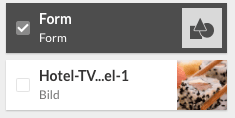
For this example, we will show you how to set an element as variable or as a placeholder. First we will look at the large background image, and mark it in the layer overview:
Now when you look at the properties of this image, you can adjust it under “content”, so that it “can be edited” in the future:

Determining which elements can be edited later and which elements are fixed is very important if you only want to change certain elements. Important corporate design elements, such as company logo, font, etc. can be specified as fixed elements. While other elements can be made variable to allow for local customization.
For pictures: select display behavior
When you have set an image as a placeholder, and you wish to replace it with an image that is not exactly the same size as the placeholder, the following setting options are possible:
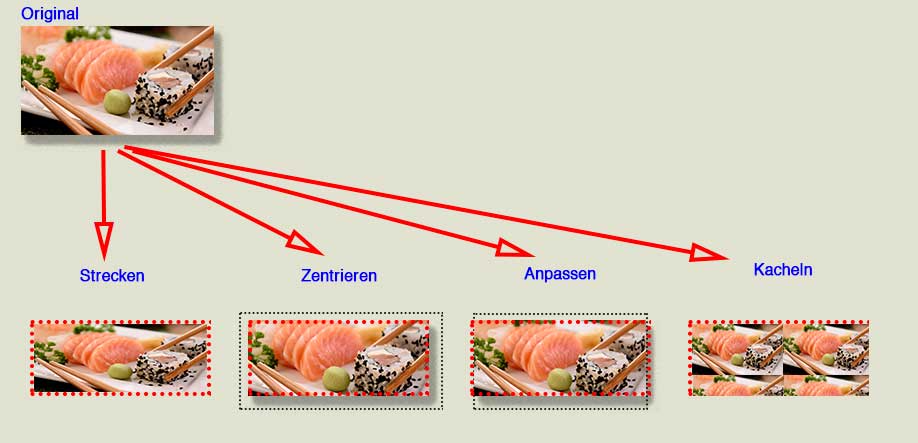
Stretch: The image is scaled to the size of the placeholder, without taking into account the aspect ratio.
Center: The image is displayed in the middle of the placeholder. Overhanging areas of the image are not displayed. If the image is larger than the placeholder, then the area of the image that is outside the area defined by the placeholder is truncated.
Fit: The image is proportionally scaled to fill the placeholder. It is always scaled until all areas of the placeholder are filled with the image.
Tiling: The image is repeated if it is smaller than the area of the placeholder.
Note: A video is always centered.
Correct naming of the layers
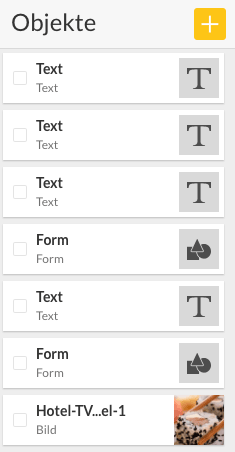
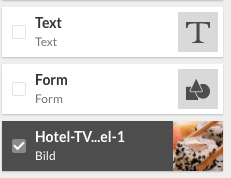
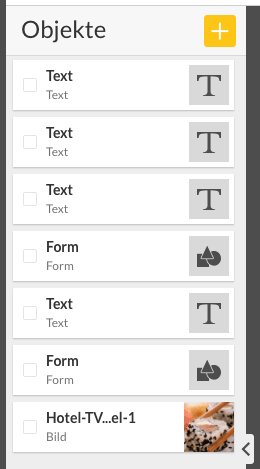
Since we plan on using this template multiple times, we should make sure that we correctly label the different layers, so that we are aware of which text field we are editing in the future. In our case, we have a total of four editable (changeable) layers, more precisely:
- One exchangeable picture
- Three text fields
Currently our layers look like this:
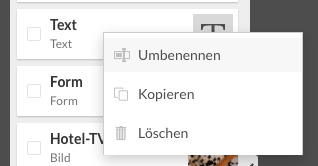
To rename it, right-click on the layer on the left and choose "Rename":