Creating Content from a Template
Once a template has been created, it can now be used to create content from it. However, it is not possible to use the template as its own content. Instead it is about creating recurring content, such as offers and advertisements.

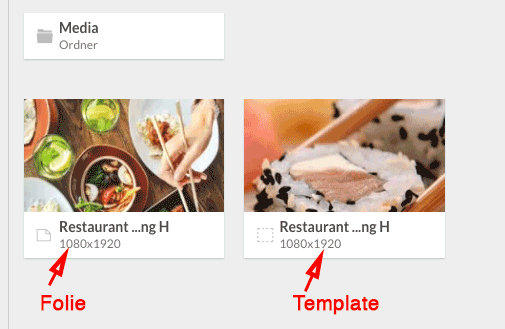
The template looks like it is finished, and the layers have been renamed as illustrated below:
When you close the template designer, you will then see the template that was just created located in the current folder in the content area.
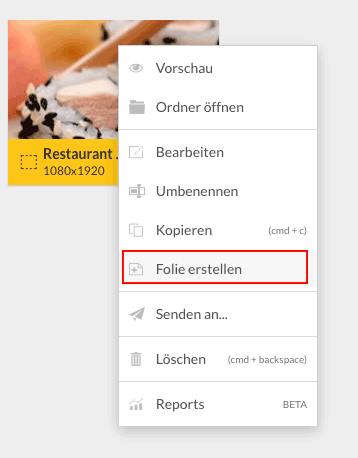
Now click with the right mouse button on the template and select the entry Create slide:
This will cause a dialog box to open:
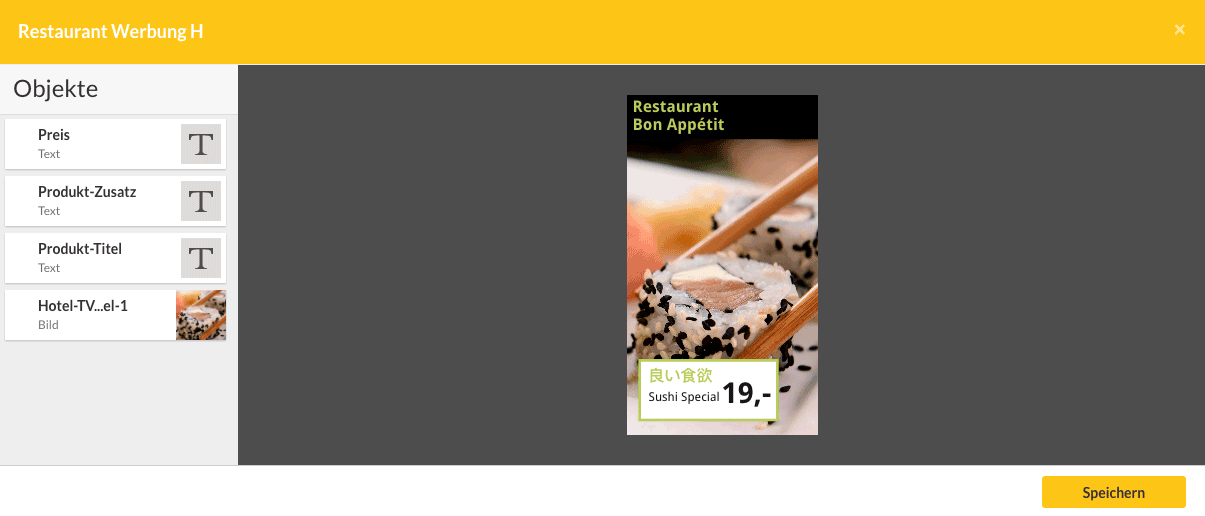
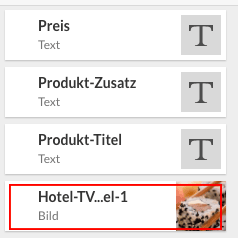
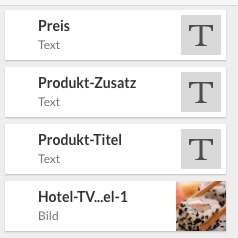
Note that only the elements on the left are able to be selected. This is because they were previously declared as “Can be edited” in the template.
We are creating a new offer from the restaurant. A 3-course dinner for 59, - per person.
Changing a picture
The following procedure outlines how to set a new background image:
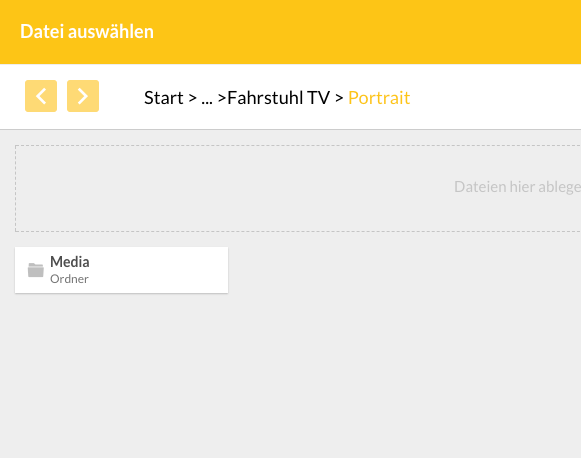
- Double-click on the layer view on the left, on the layer with the image:
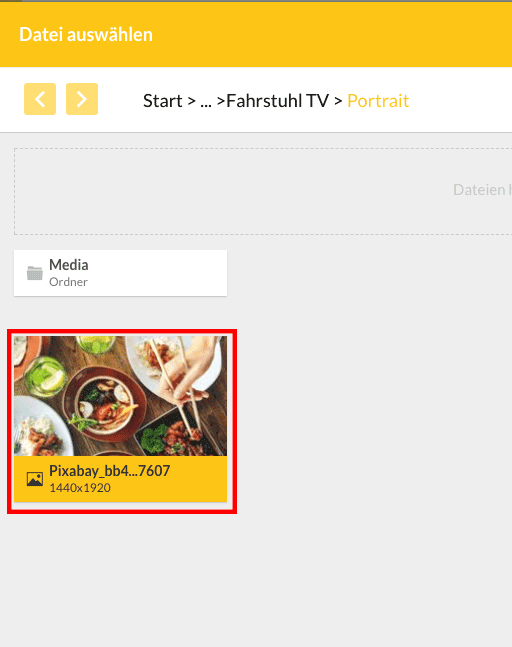
- The media database will open. Now you can either upload an image directly or search for a suitable image through Pixabay. For the sake of our example, we will use an image from Pixabay.
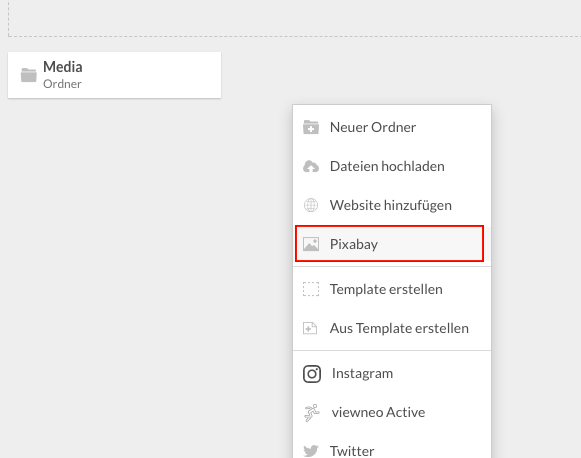
To use a Pixabay image, just right-click on an empty area and then select the entry “Pixabay” from the content menu.
For our image, we use the search term “Dinner” and then select a suitable image:
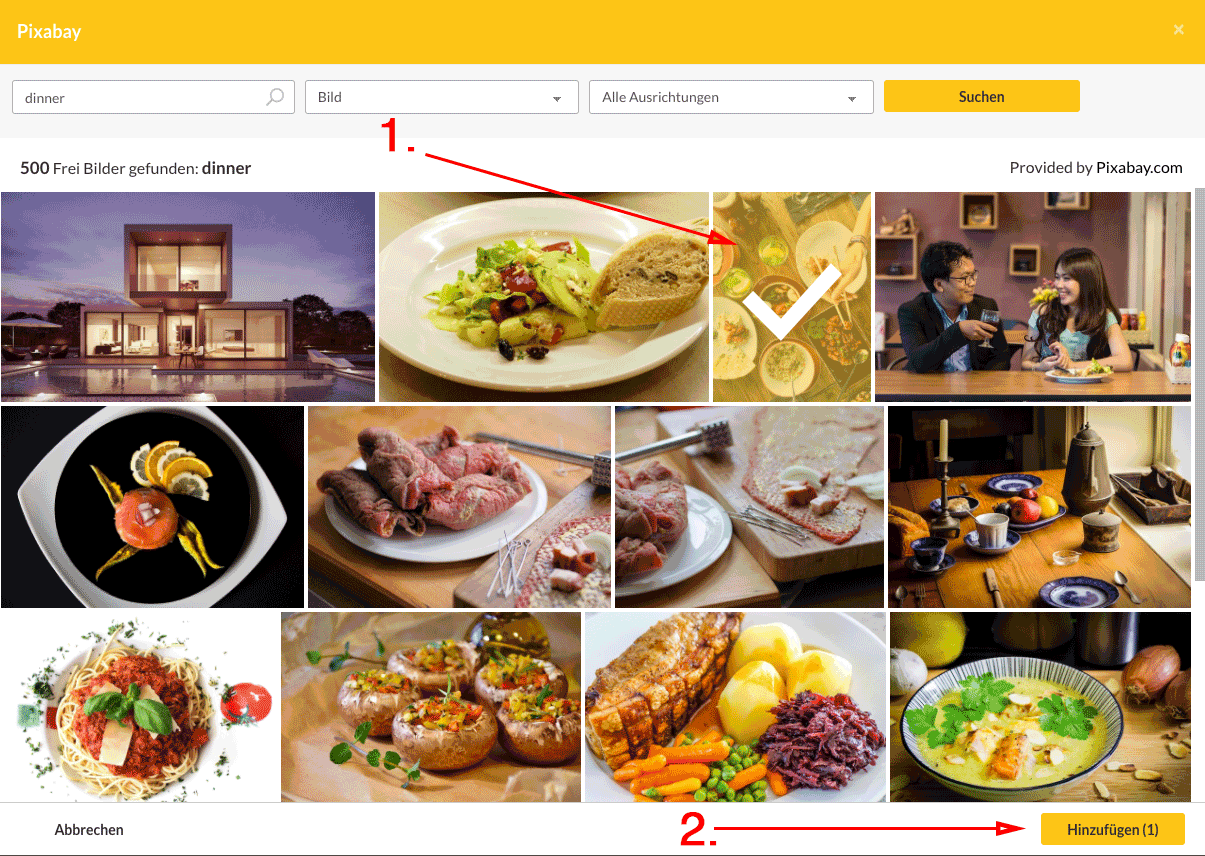
After clicking on the Add button, it will take a few seconds and then the image will be displayed in the folder.
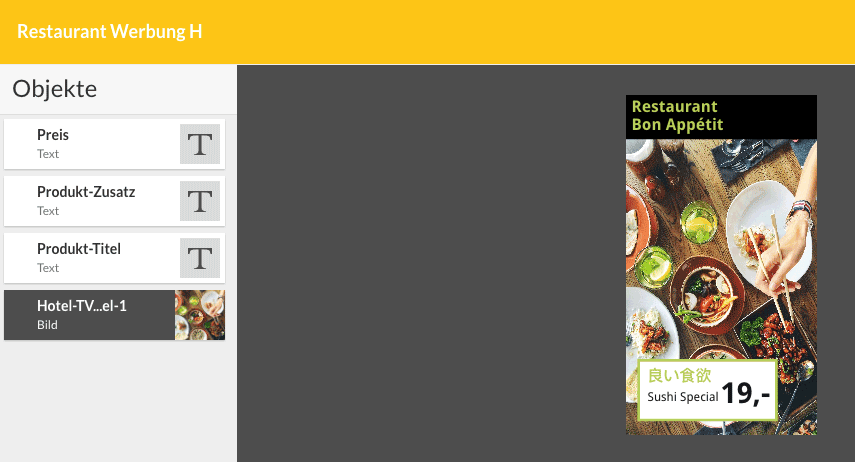
By double-clicking on the new image, you have now selected this as a new image for the content - ie our restaurant advertising. As you can see, it is already displayed in the preview.
If the image is distorted here, you either have to use an image that has the same dimensions as the placeholder in the template or, when creating the template, be careful to choose how to handle images which do not have the same aspect ratio as the placeholder.
Editing text fields
Now we have to determine the texts in the new slide - in our offer.
To do this, we click on one of the levels with the text fields on the left and enter our new text there. The fonts, position or orientations and all other settings such as text color, text size and so on are no longer editable. The properties of these fields have been specified in the template. This way of working can also ensure that people who create new content from existing templates will always be aware of the design presets in the template.

When we are done, we have the following finished slide:

Save a slide
Finally, we need to save the new slide. In the media folder we now see the newly created slide and the template from which the new slide was created: