Channel Logo Plugin

You can get additional information on how to access Plugins here.
The Channel Logo Plugin lets you display your own personalized logo on the screen.
So, let's see how it works.
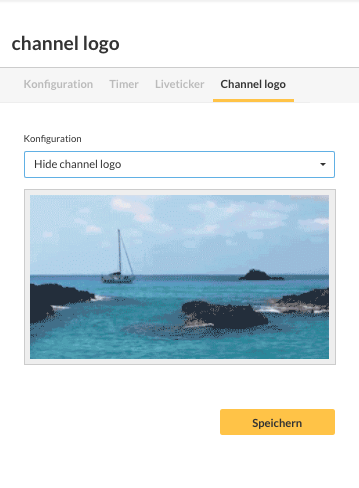
To use the plugin, go to Devices-> Device Groups-> Channel Logo. There you first see an overview.

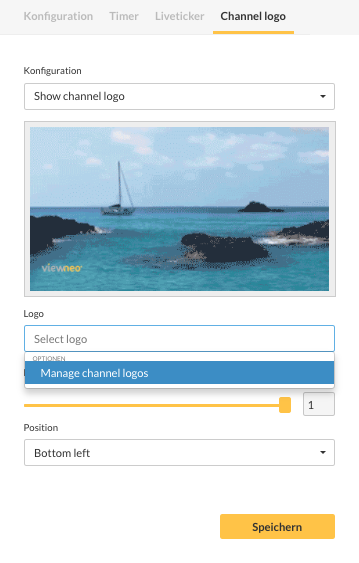
In the section "Configuration", the Plugin can be activated by selecting "show channel logo". If you go to the "Logo" under "Manage channel logos", a new pop-up window will appear.

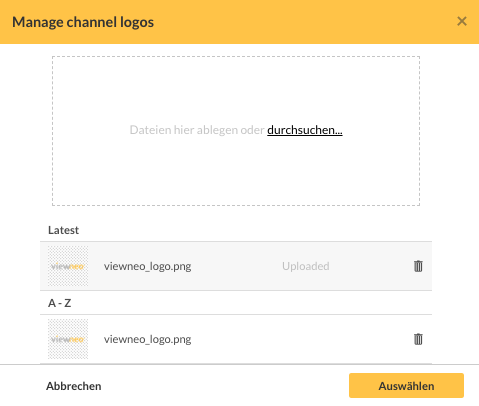
You have the option of either dragging and dropping a PNG file or by click on "Browse" to find a file.
Now you can either drag and drop or by clicking "Browse", upload a PNG file. Several files can be uploaded, sorted alphabetically and latest. Once you have decided on a logo, you go to "select".

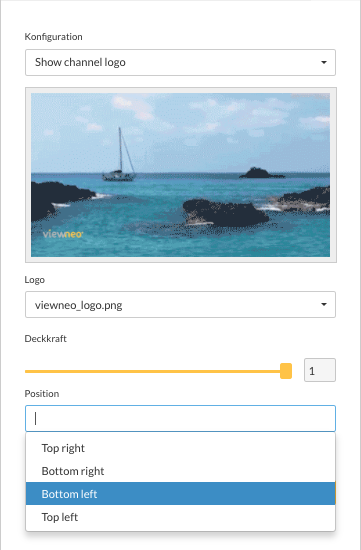
When you return to the overview page, the selected logo will appear. How opaque the logo should appear can be adjusted from 0 to 1. Additionally, the position where the logo should appear can also be adjusted.

Finally, in the overivew you can see a preview of how the logo will ultimately appear.
