Setting up viewneo Butler
The viewneo Butler needs to be linked to your viewneo user account. Once it is linked, you will be able to control it through the viewneo Content Management System.
Important Information!
To connect Zigbee devices with the viewneo Butler, please ensure to reset the devices before you start to pare the products. Depening on the brand there are several steps to follow.
Connecting viewneo Butler
The first step is to ensure that all of the necessary cables are connected.
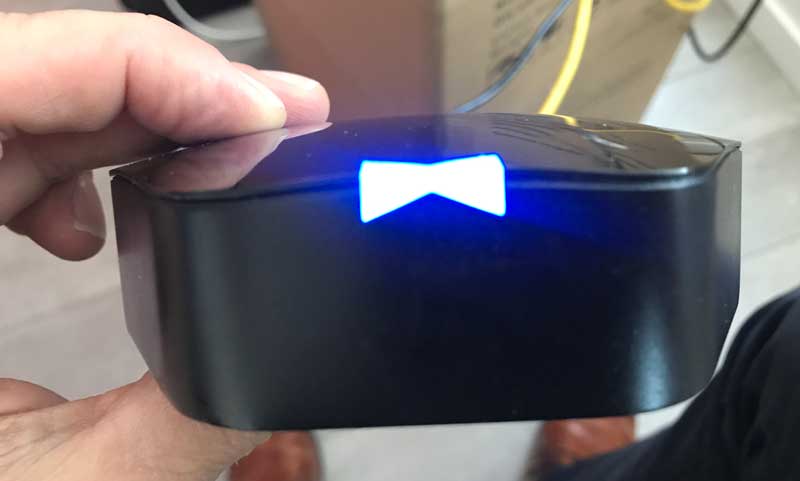
Front Side
The front side shows the status of the Butler with LED lights (the bowtie of the Butler).
Back Side
On the back are the connections for the LAN and power cables (via external power supply):
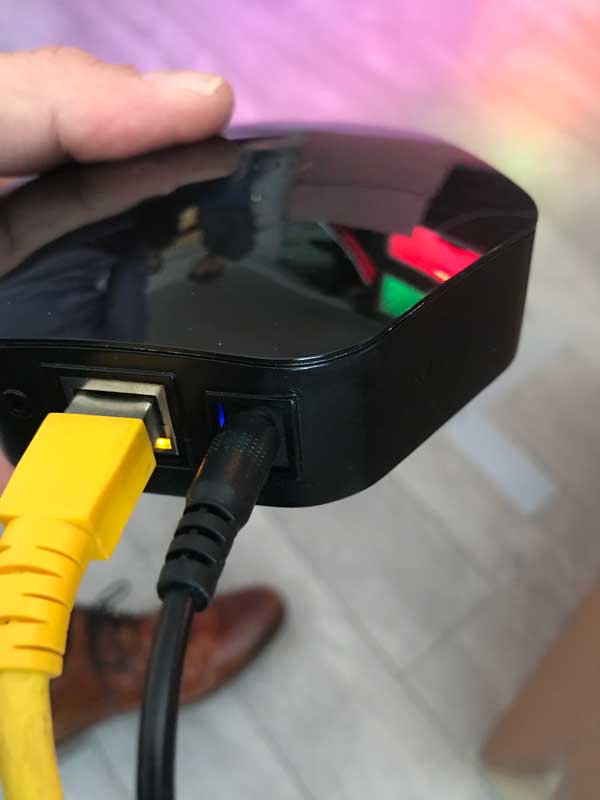
The Butler must be connected to a direct power supply and to the Internet via the LAN cable.
Resetting the Butler
If the Butler has already gone through the initial configuration process and needs to be set up again, then the Butler must be reset. In order to do this you will need to press the reset button located on the back of the case with a sharp object (such as a paper clip) for several seconds. The bow tie LED status indicator on the front will begin to flash blue.

Required steps to setup the Butler
The following two steps are necessary to set up the viewneo Butler.
1. Connect Butler in the CMS
The Butler needs to be added as a new device (as a Butler - not as a player) in your own user account in viewneo. You can get more information on how to do this here: Butler with User Account. Prior to the setup wizard running on the device itself, a new device needs to added to the CMS. When you do this you will get a code that will be needed for the next step of linking the Butler to your user account.
2. Start Butler Setup Assistant
The final step is to start the Butler setup assistant. It is important to note that this is not located in the CMS. For more help the Setup Wizard section will provide you will step by step instructions on this last step.